Client: Rhett and Link
Role: VFX Director
Date: Winter 2012
THE PROJECT
I had already been doing a couple of projects with YouTube superstars Rhett and Link when they approached me about a new video that was being produced for Sleep Better’s new Facebook app. They wanted to take the classic “Spot the Differences” style books where you try to find all the differences in a picture… but in a far more ambitious style. They wanted to do it with a full-on music video that would be recorded in multiple takes, swapping out props, costumes, characters, and scenes to create the differences between the two. The catch was… all this needed to happen inside a dollhouse with a virtual camera that could move around to each different room. It was an ambitious project, but who was I to say no to ambitious projects? It was time to get to work.
PRE-PRODUCTION
After jumping on a call with Rhett and Link, I put together a quick test using an image of a dollhouse to showcase the difference between a 2D move and a 3D move. I used a simple camera projection effect to create a sense of parallax for the 3D version. After seeing the benefits that the 3D perspective gave, the boys wanted to go 3D all the way.
One of the references I was given to showcase the kind of style and lighting we would be going for.
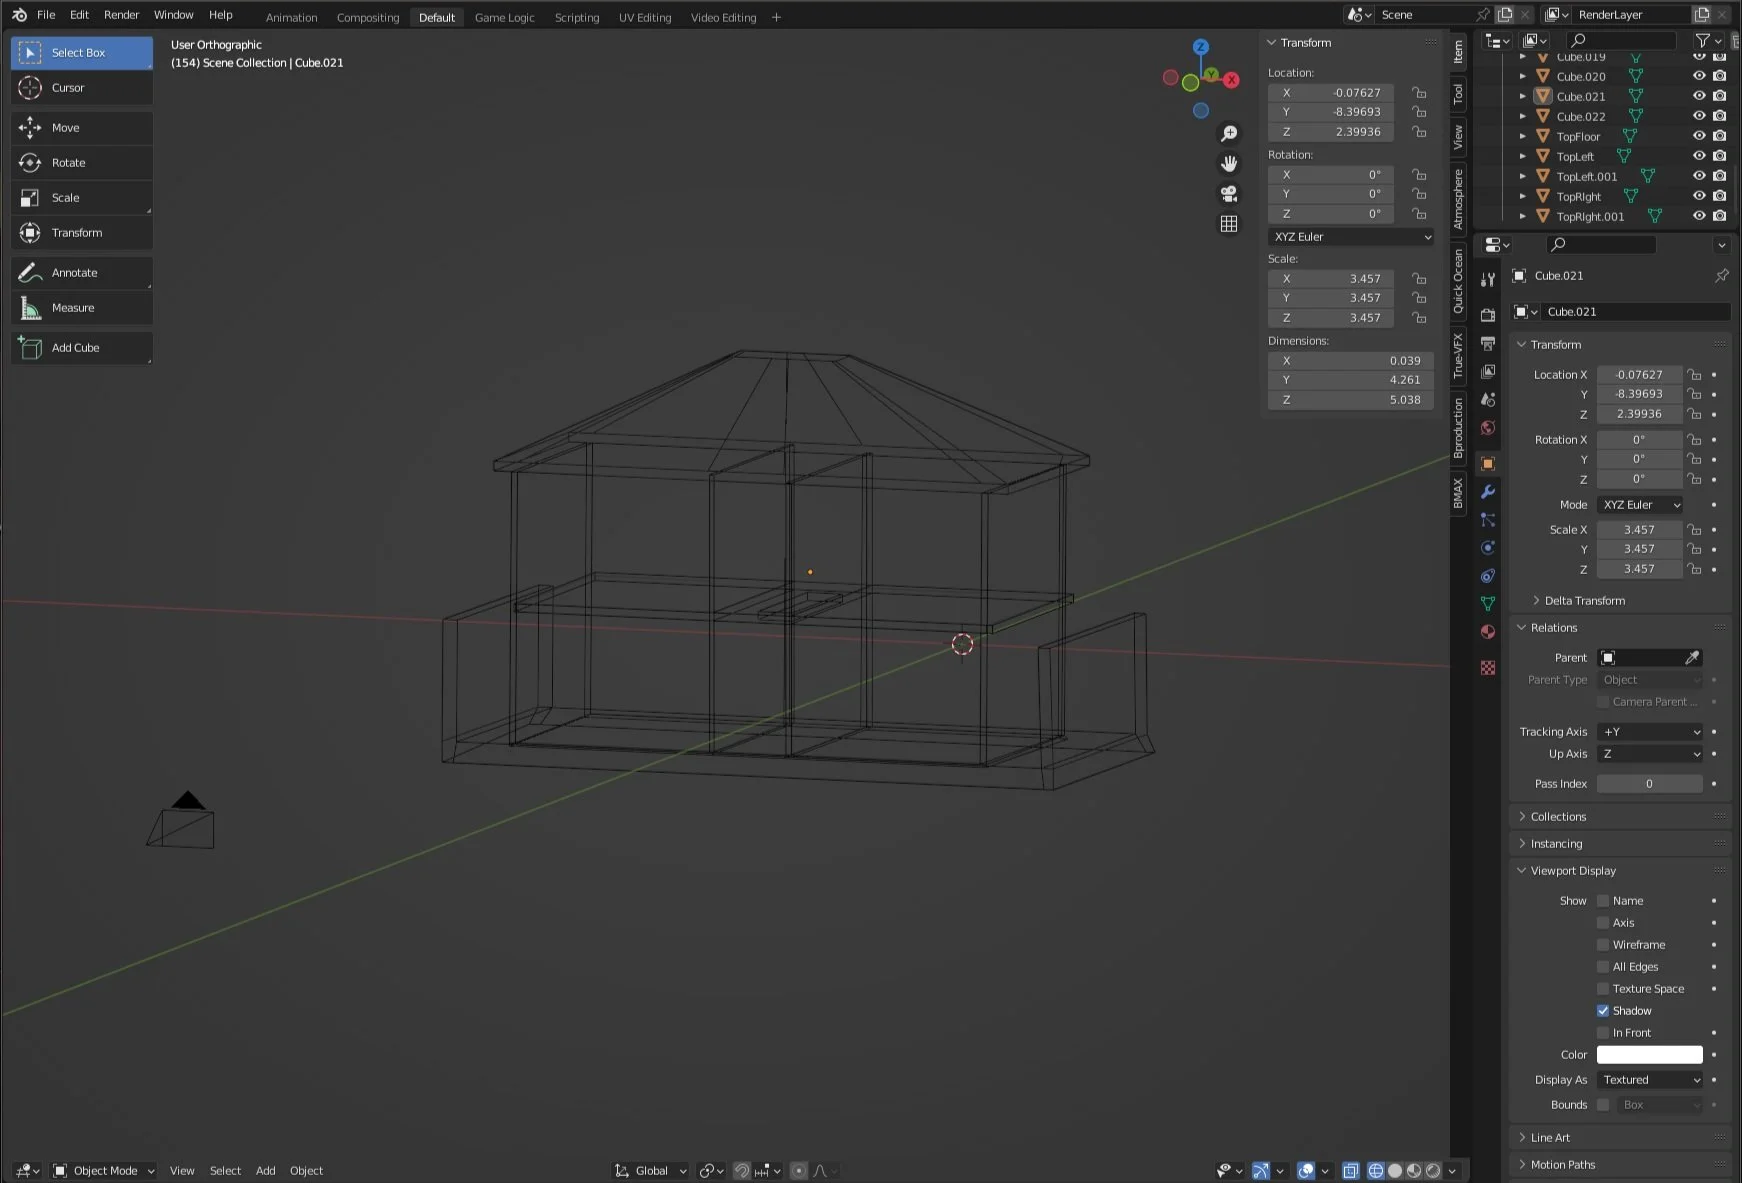
I got an early start on a dollhouse setting in Blender to get ready for the production.
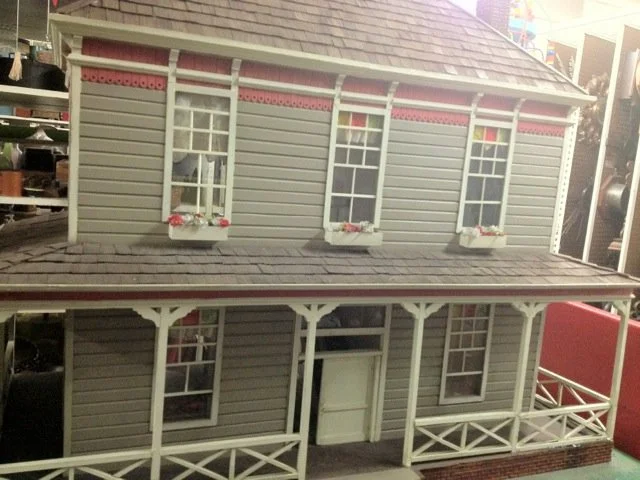
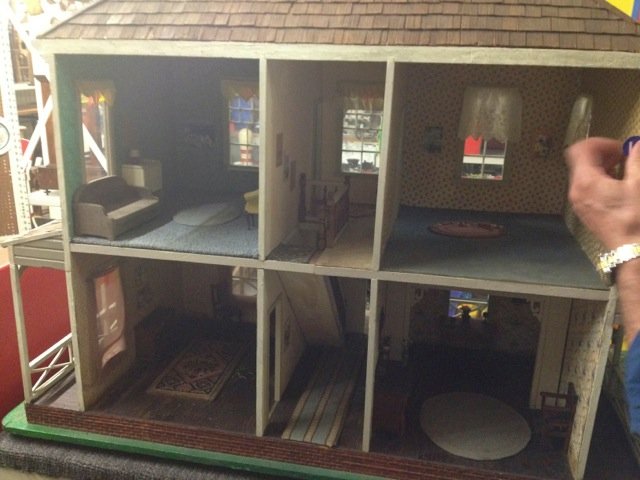
The early tests showed it was possible, but finding the right dollhouse would be key. Fortunately, an old prop shop in Hollywood had just the one for the job.
PRODUCTION
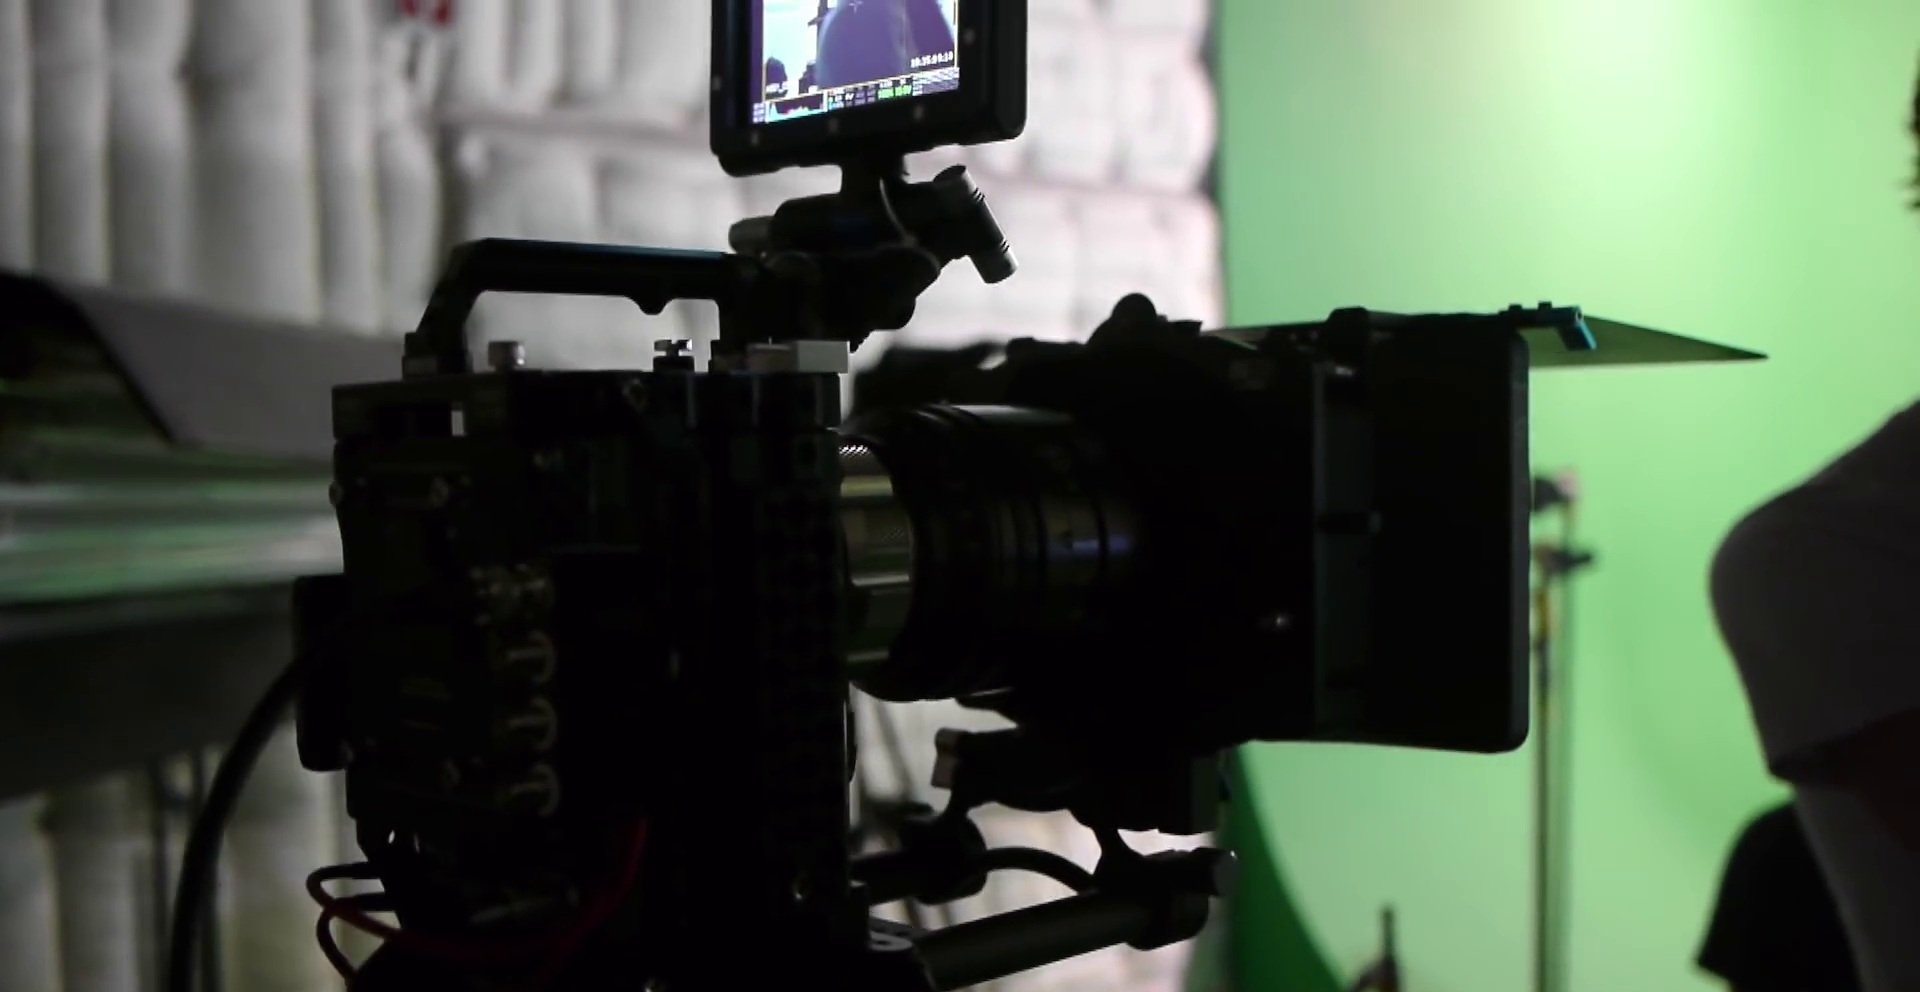
Working on location, I was responsible for making sure we captured what we needed for the post-production/VFX workflow, as well as helping my friend and DP Alexander Alexandrov with filming the entire spot.
We shot on a Red Epic Dragon before it was released to the public, so we could capture 6K frames for the dollhouse and have plenty of resolution in post.
The entire music video, including both the A and B versions, were captured in two 12+ hour days of shooting. It was a lot of work!
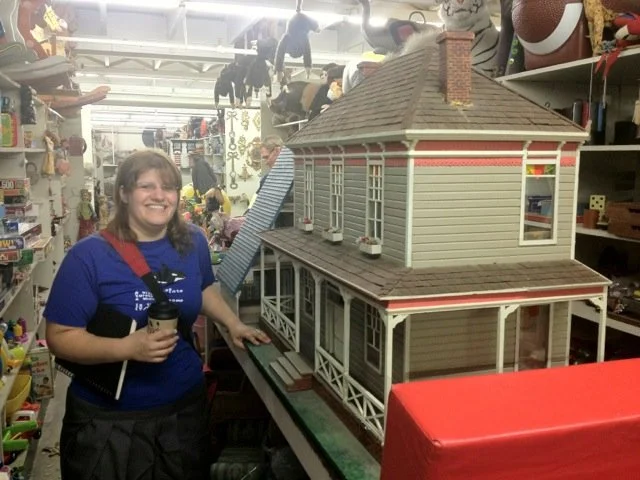
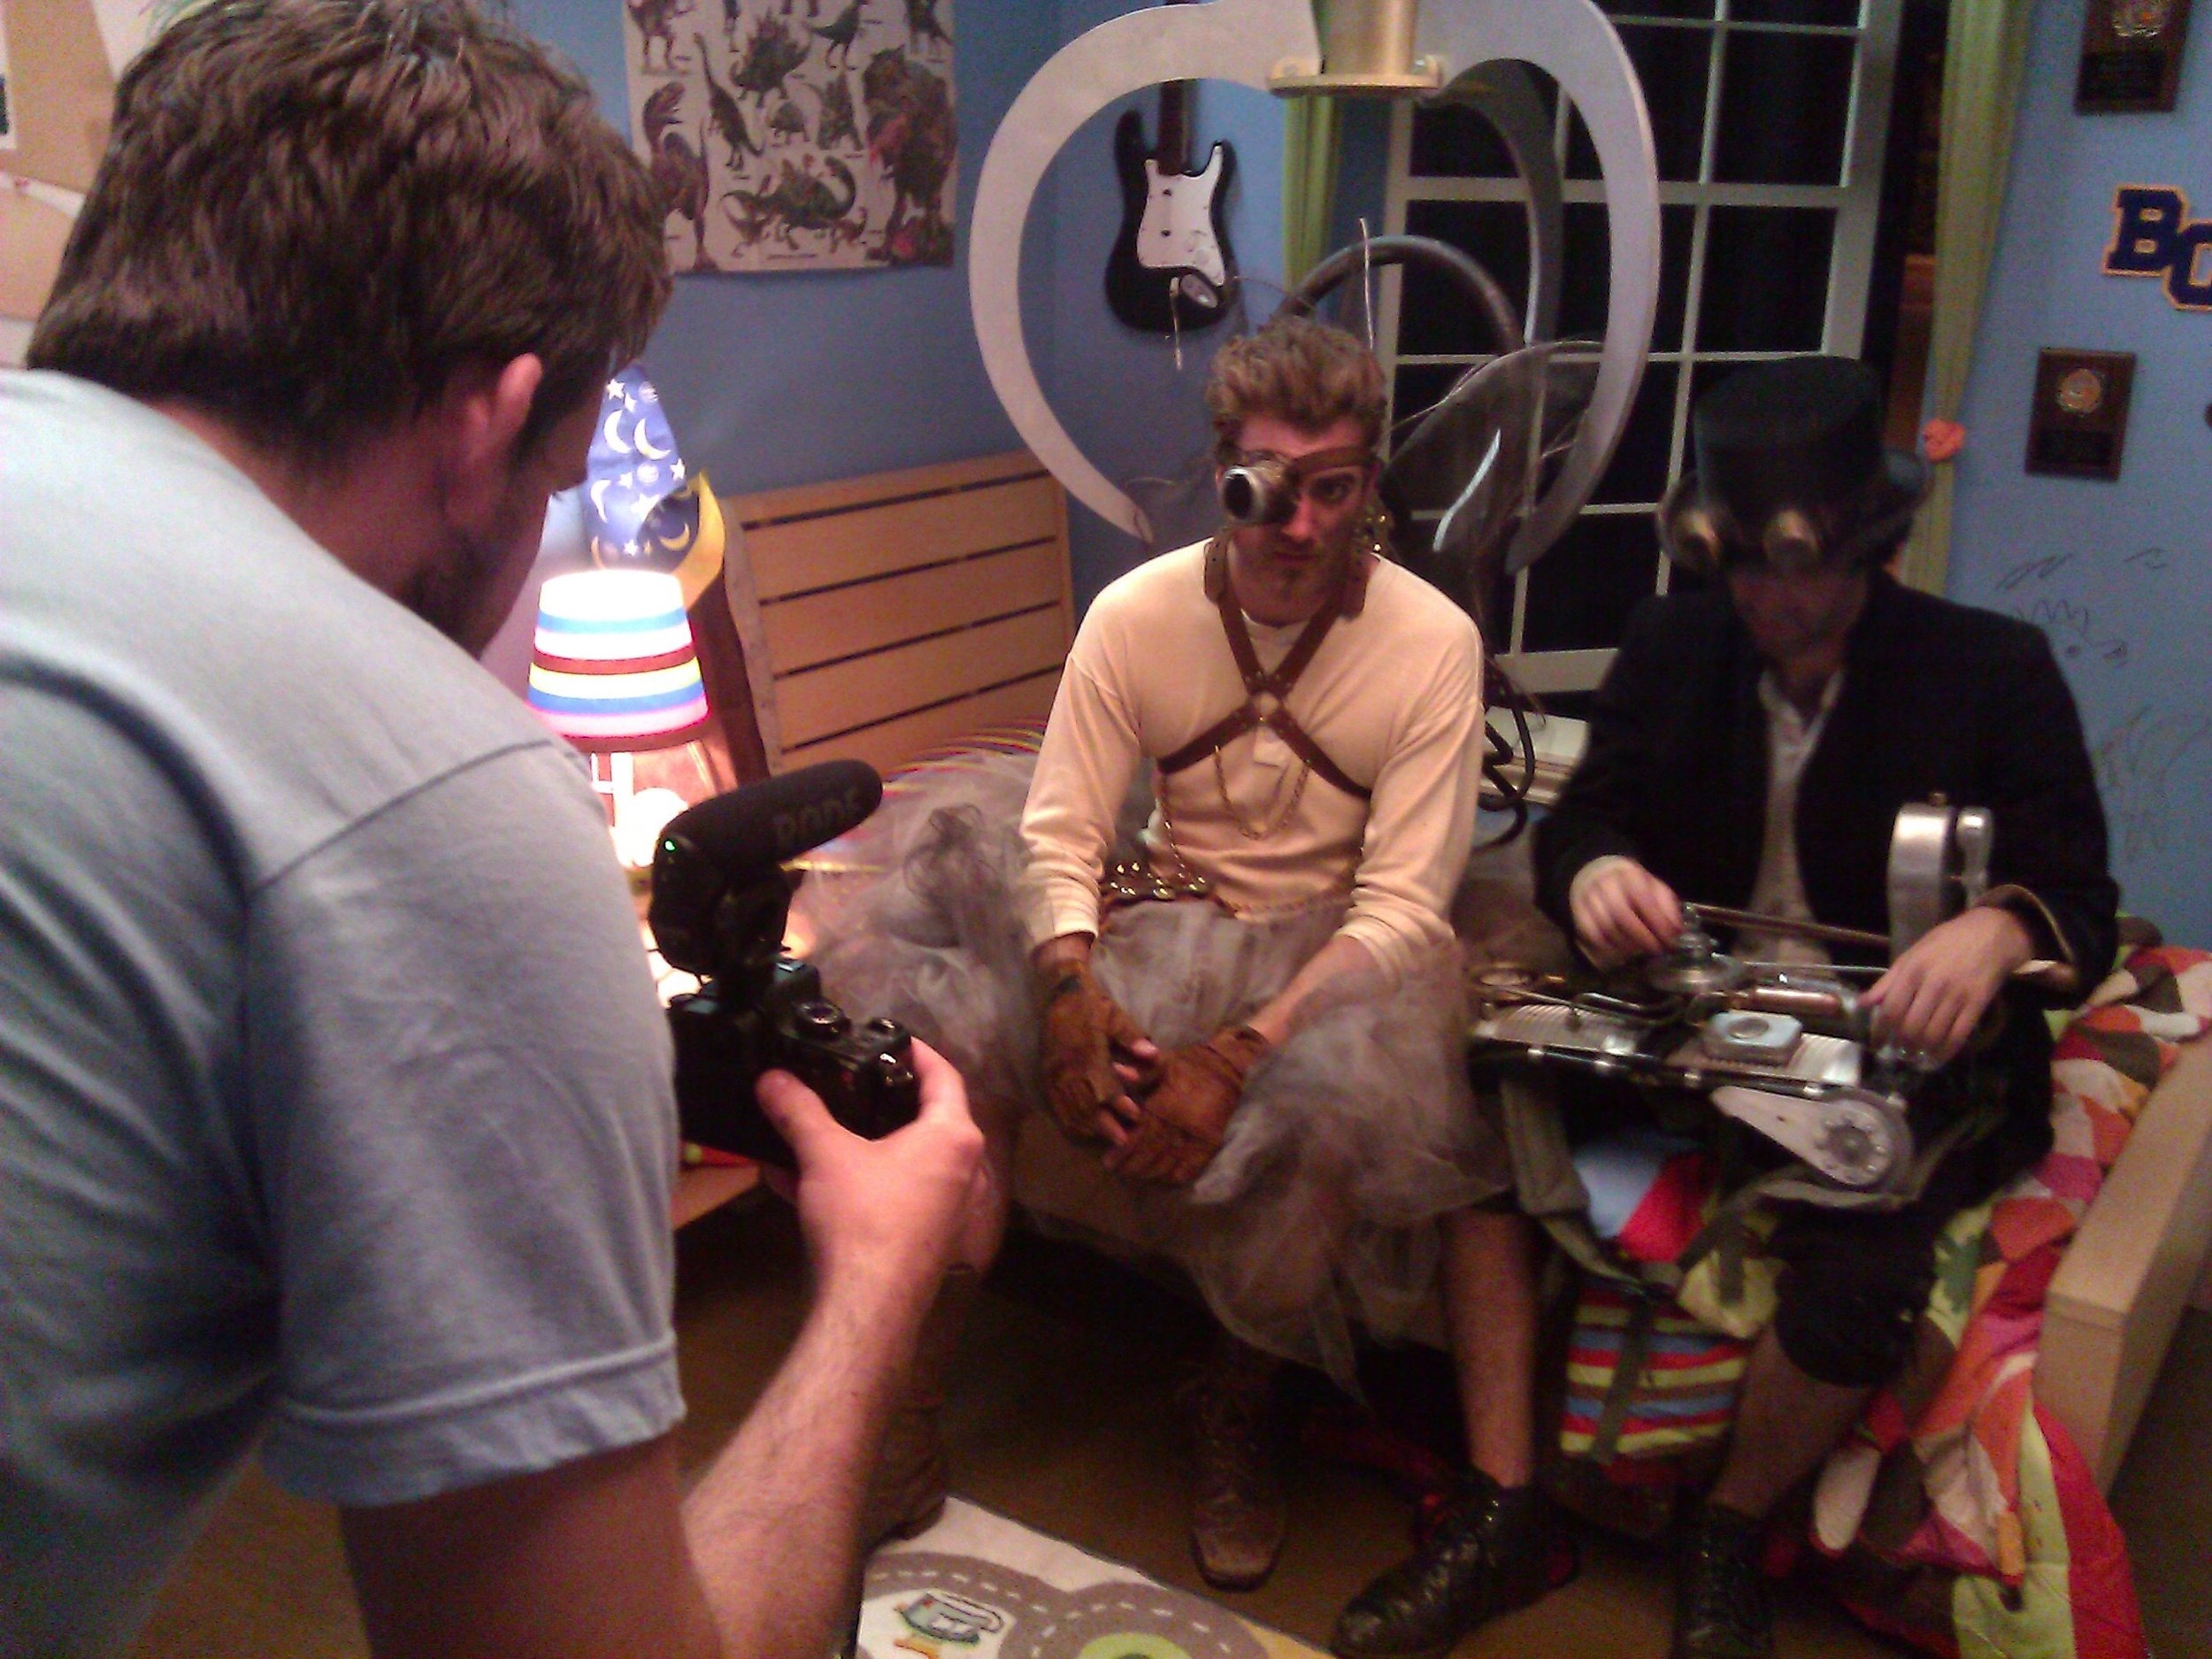
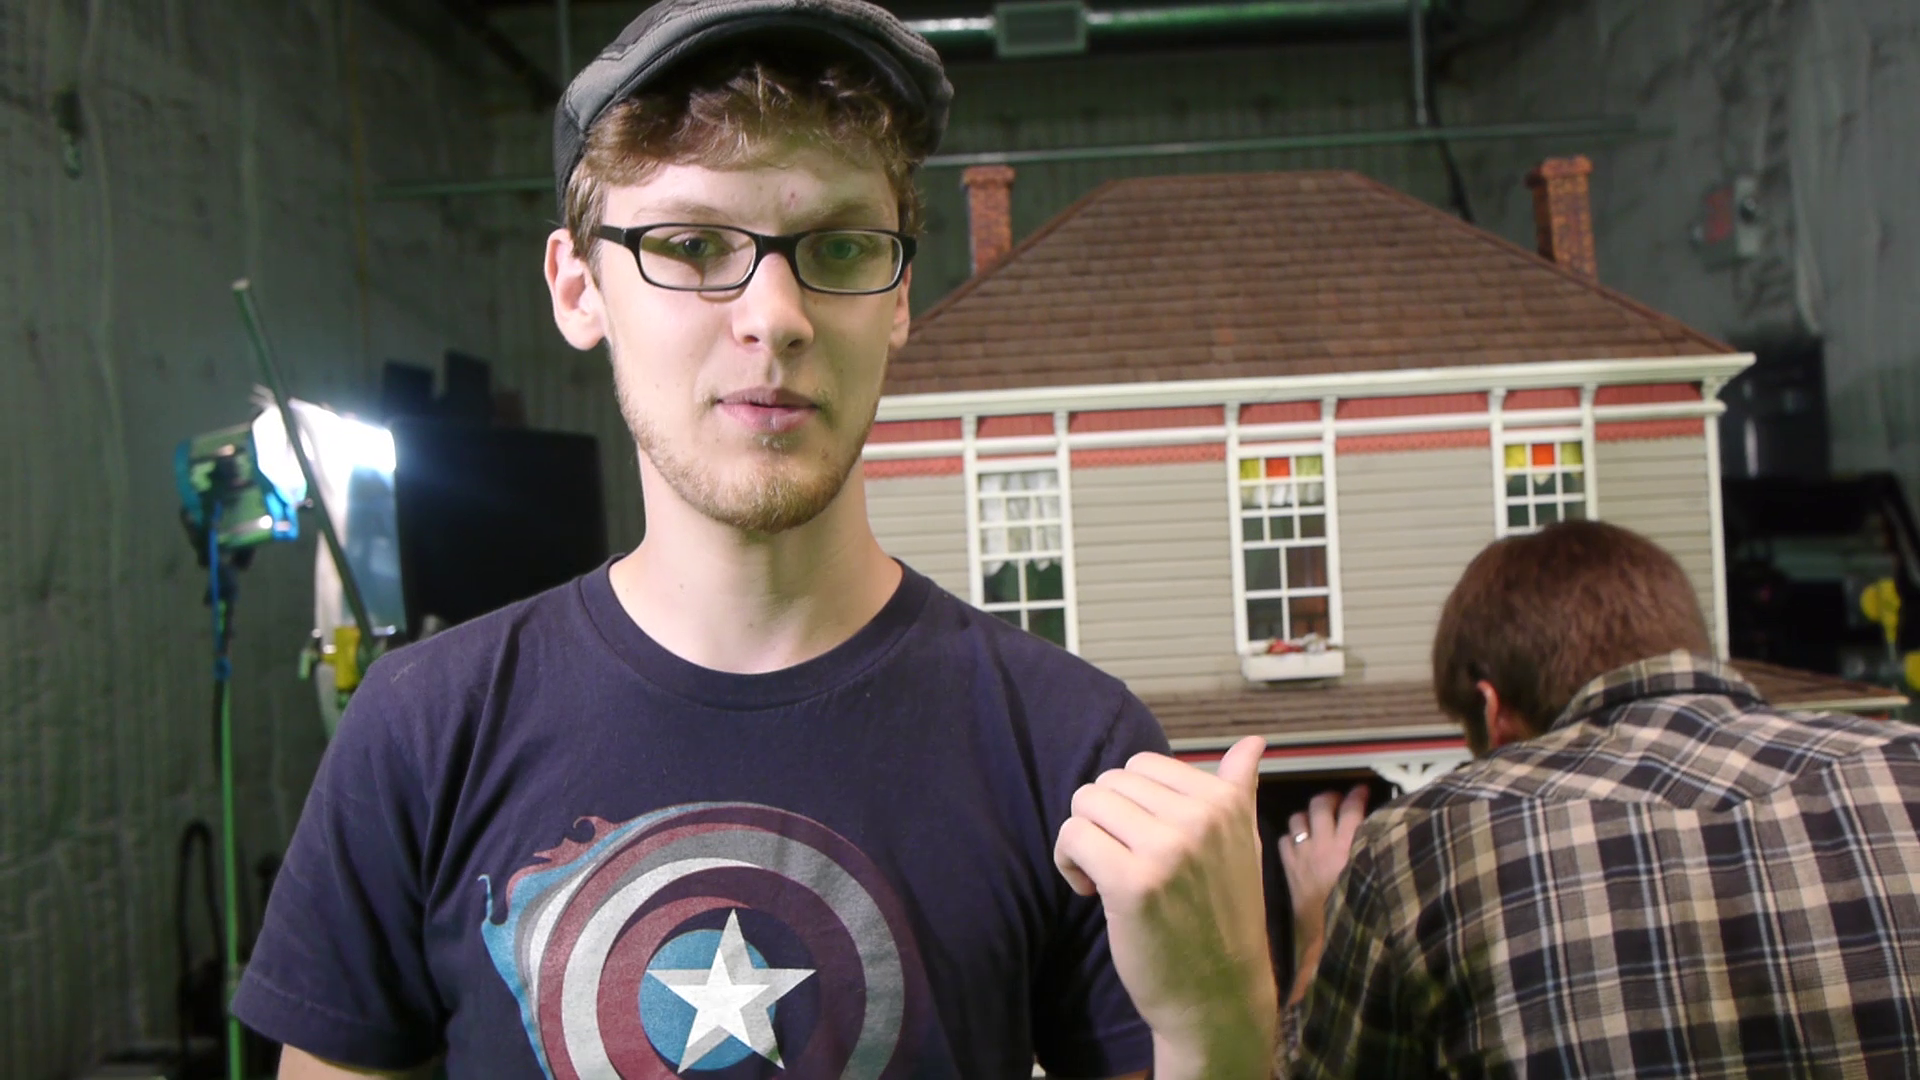
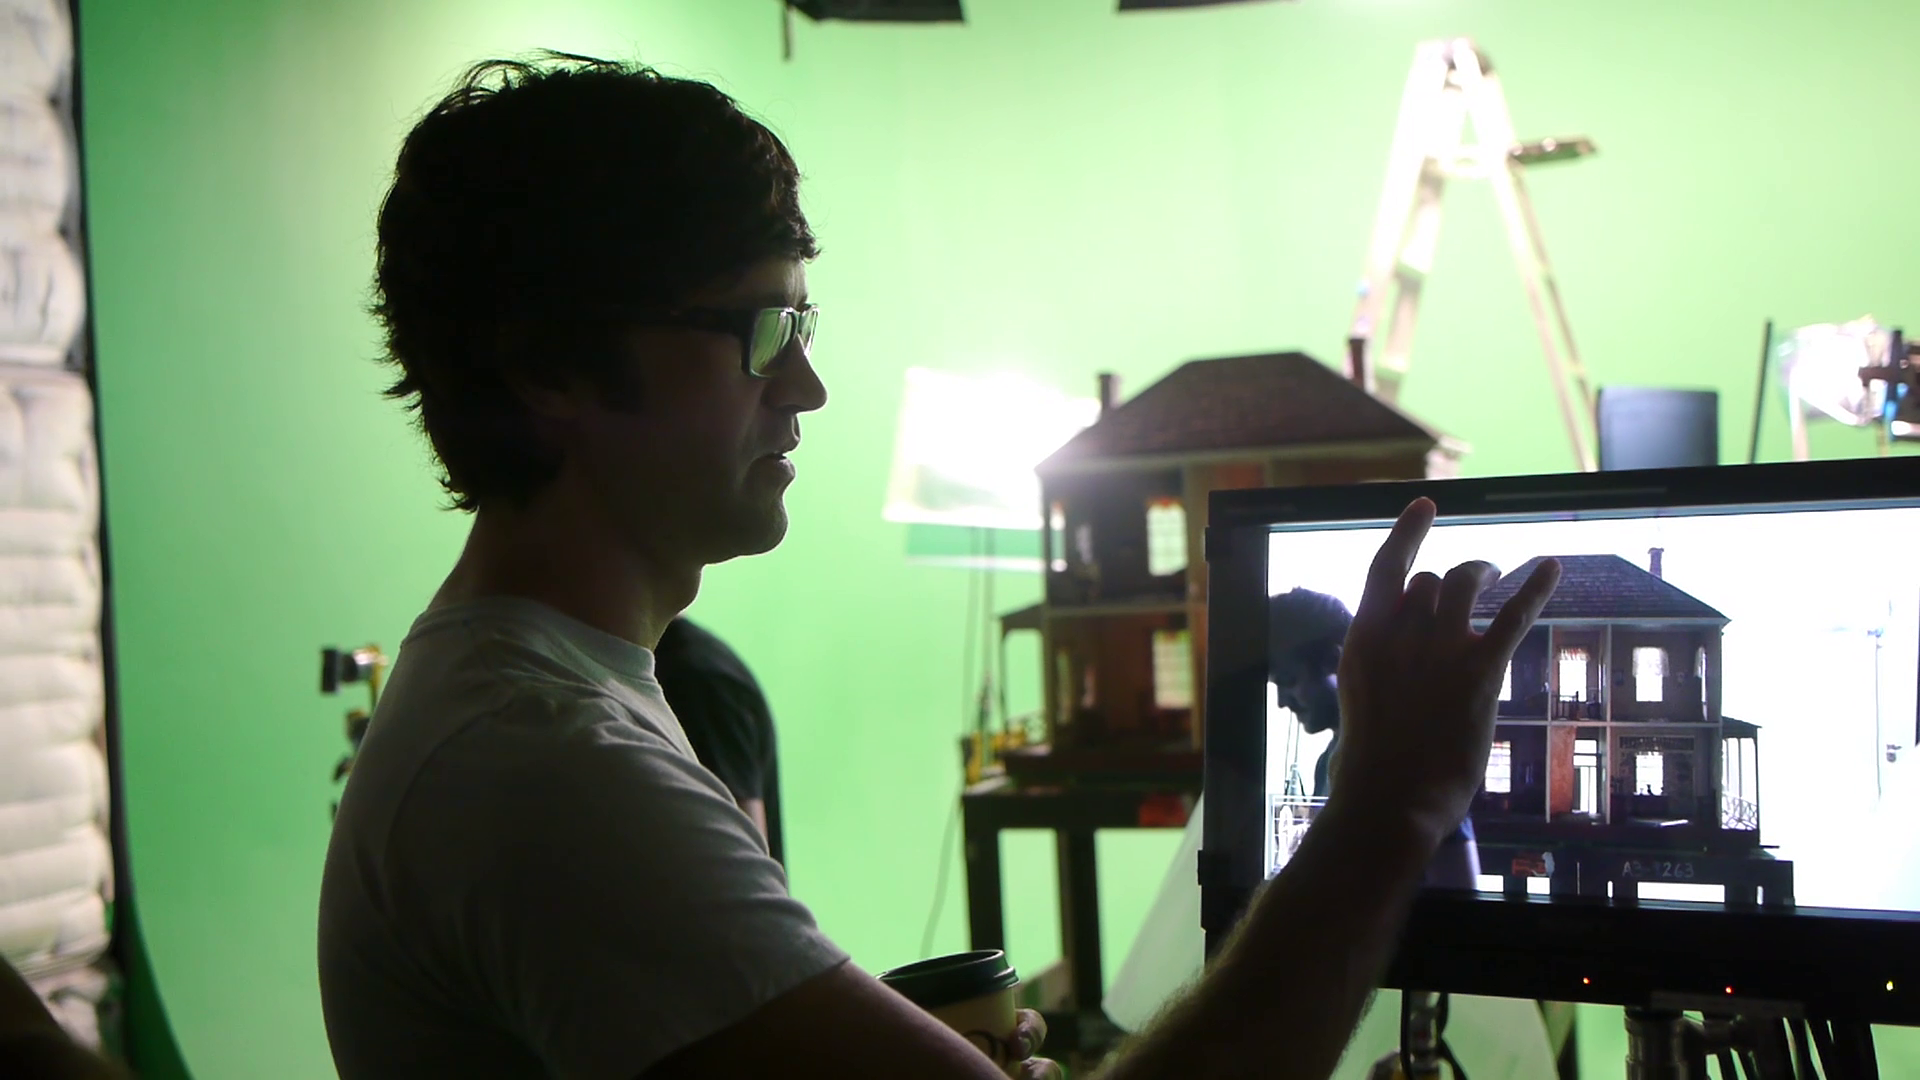
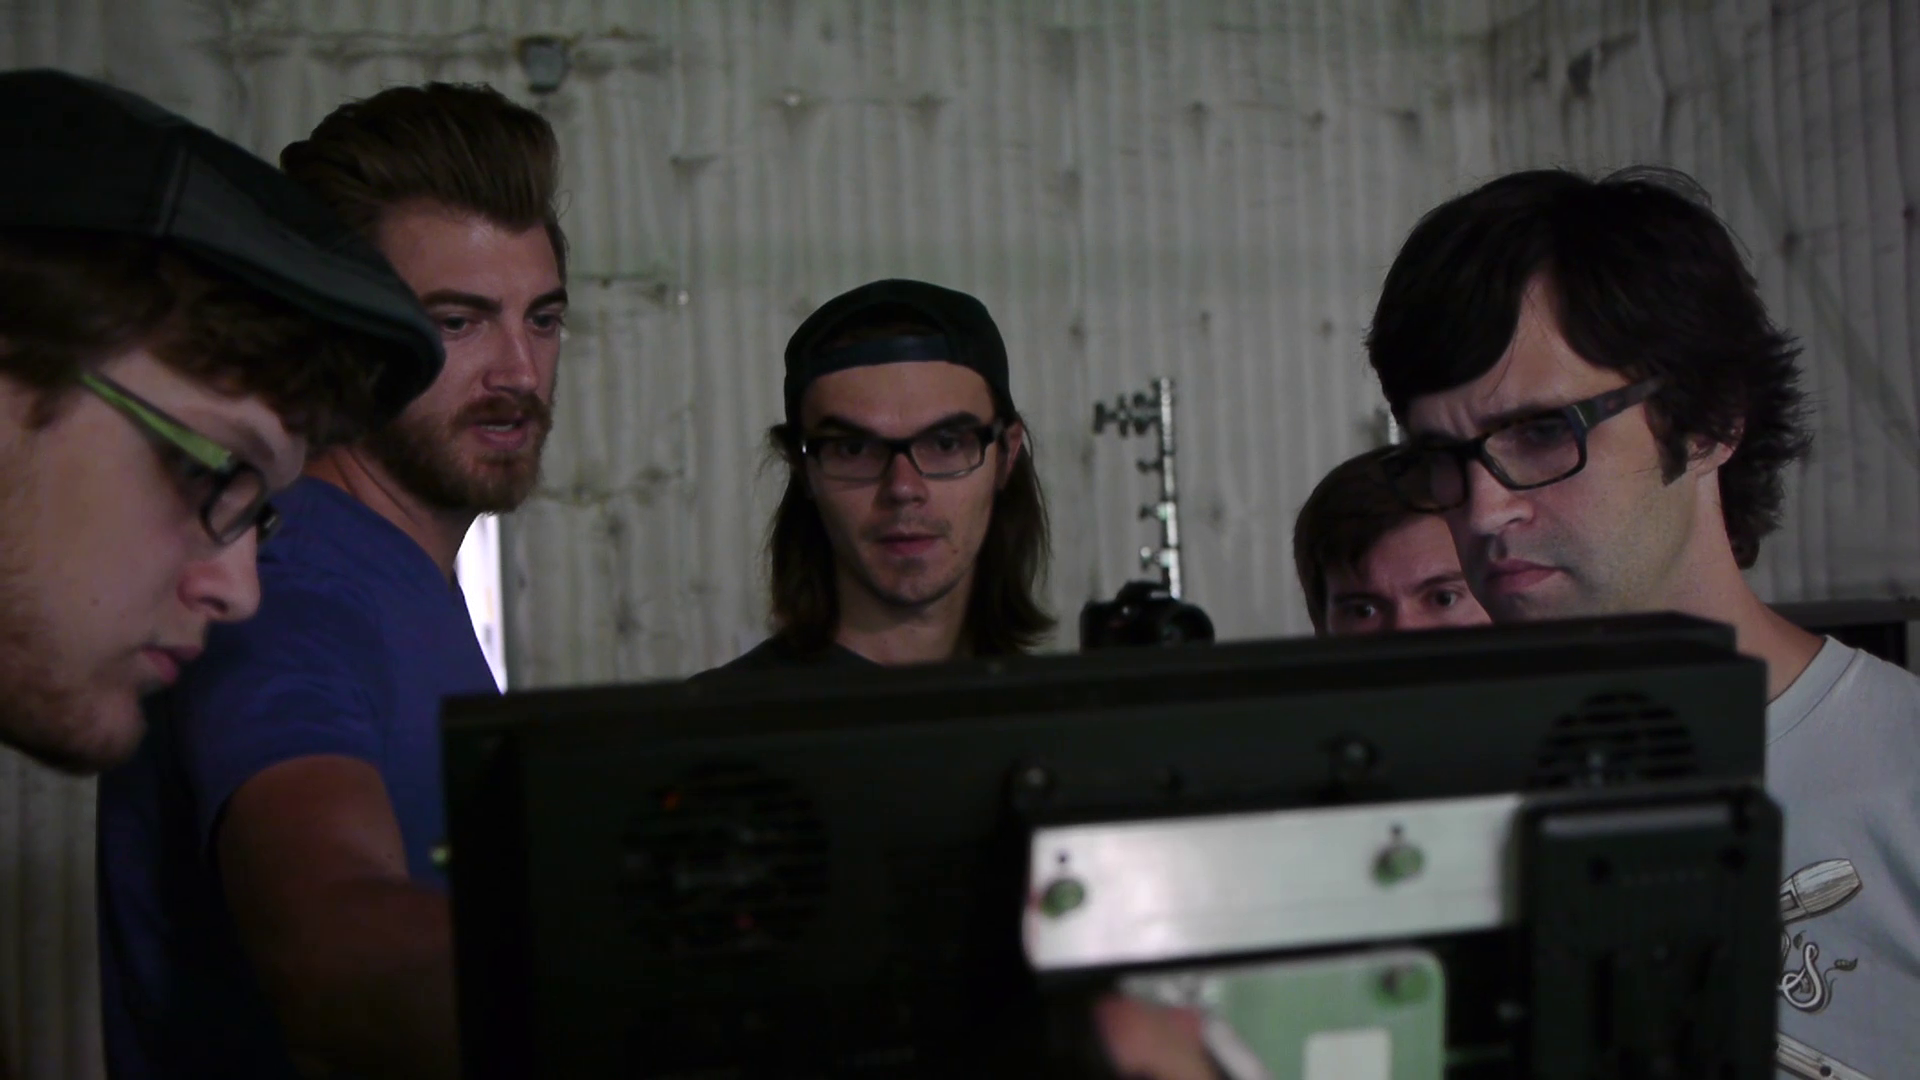
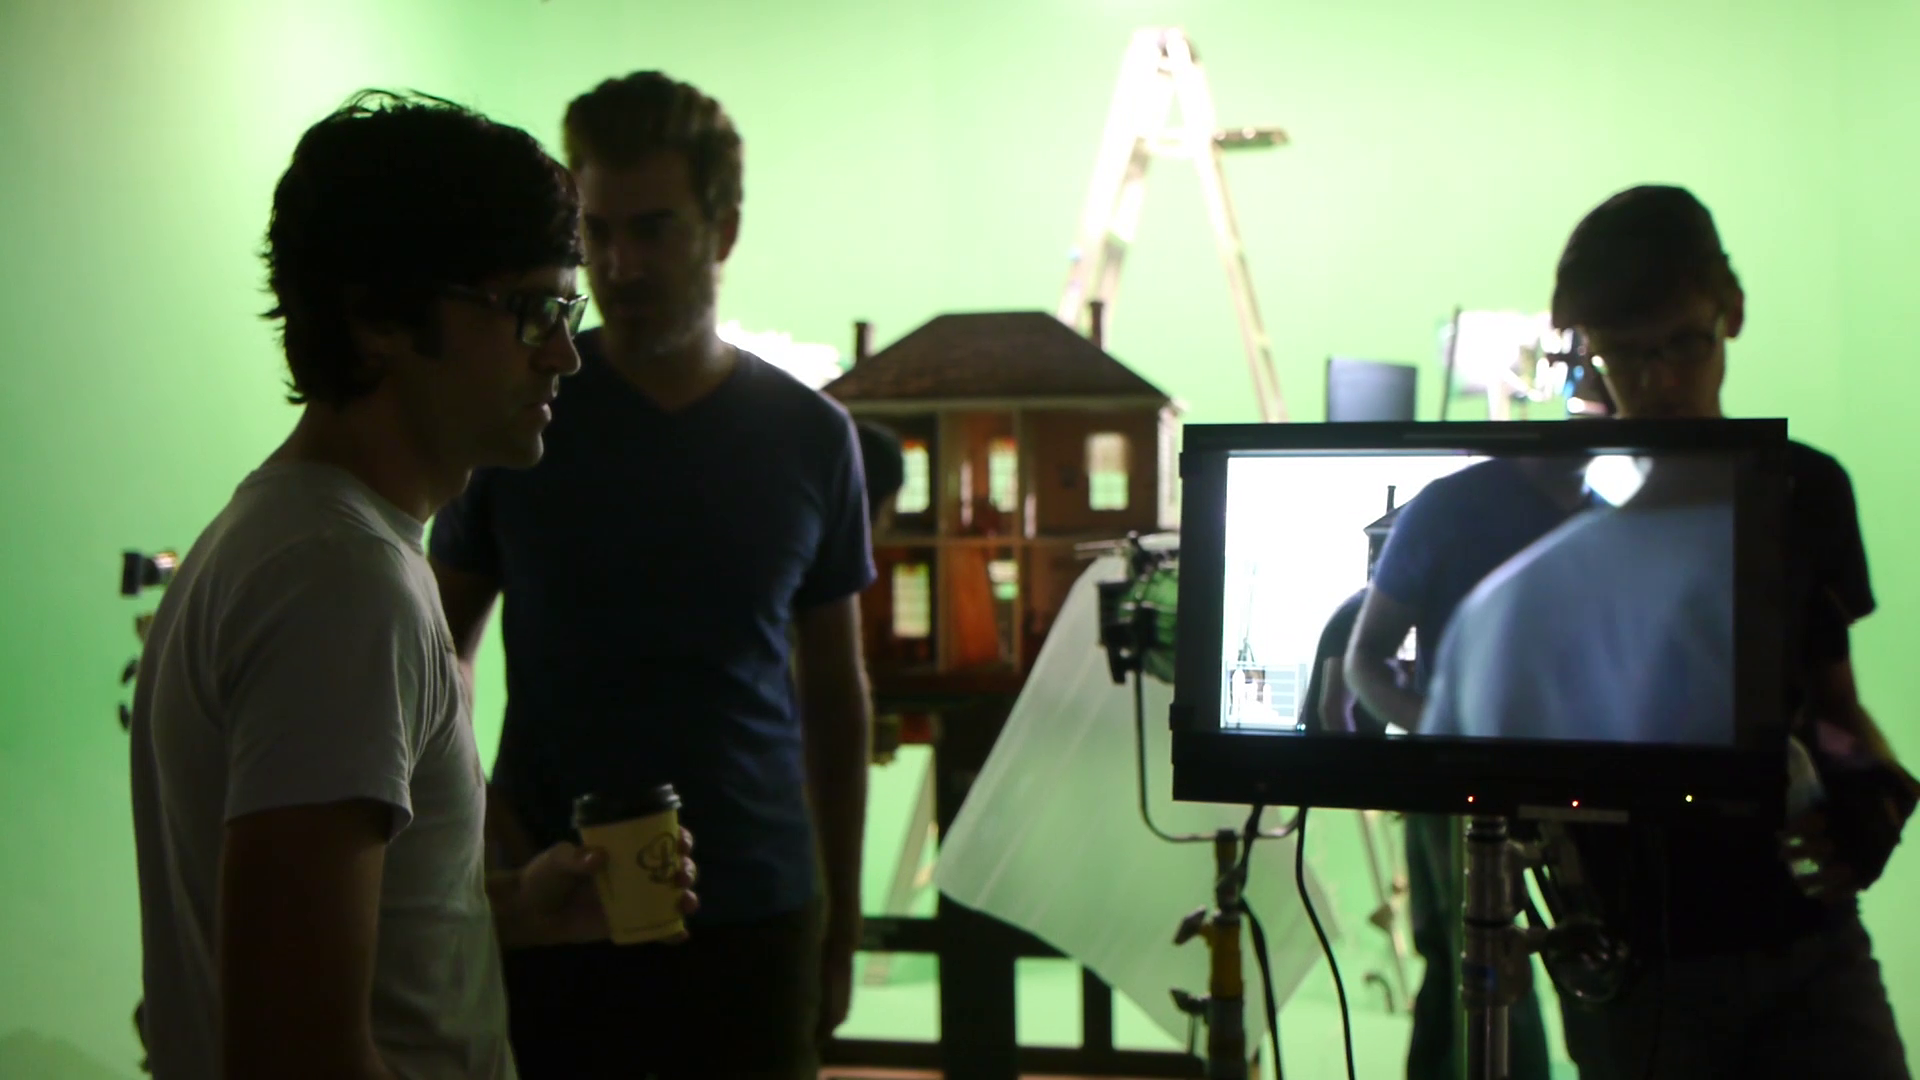
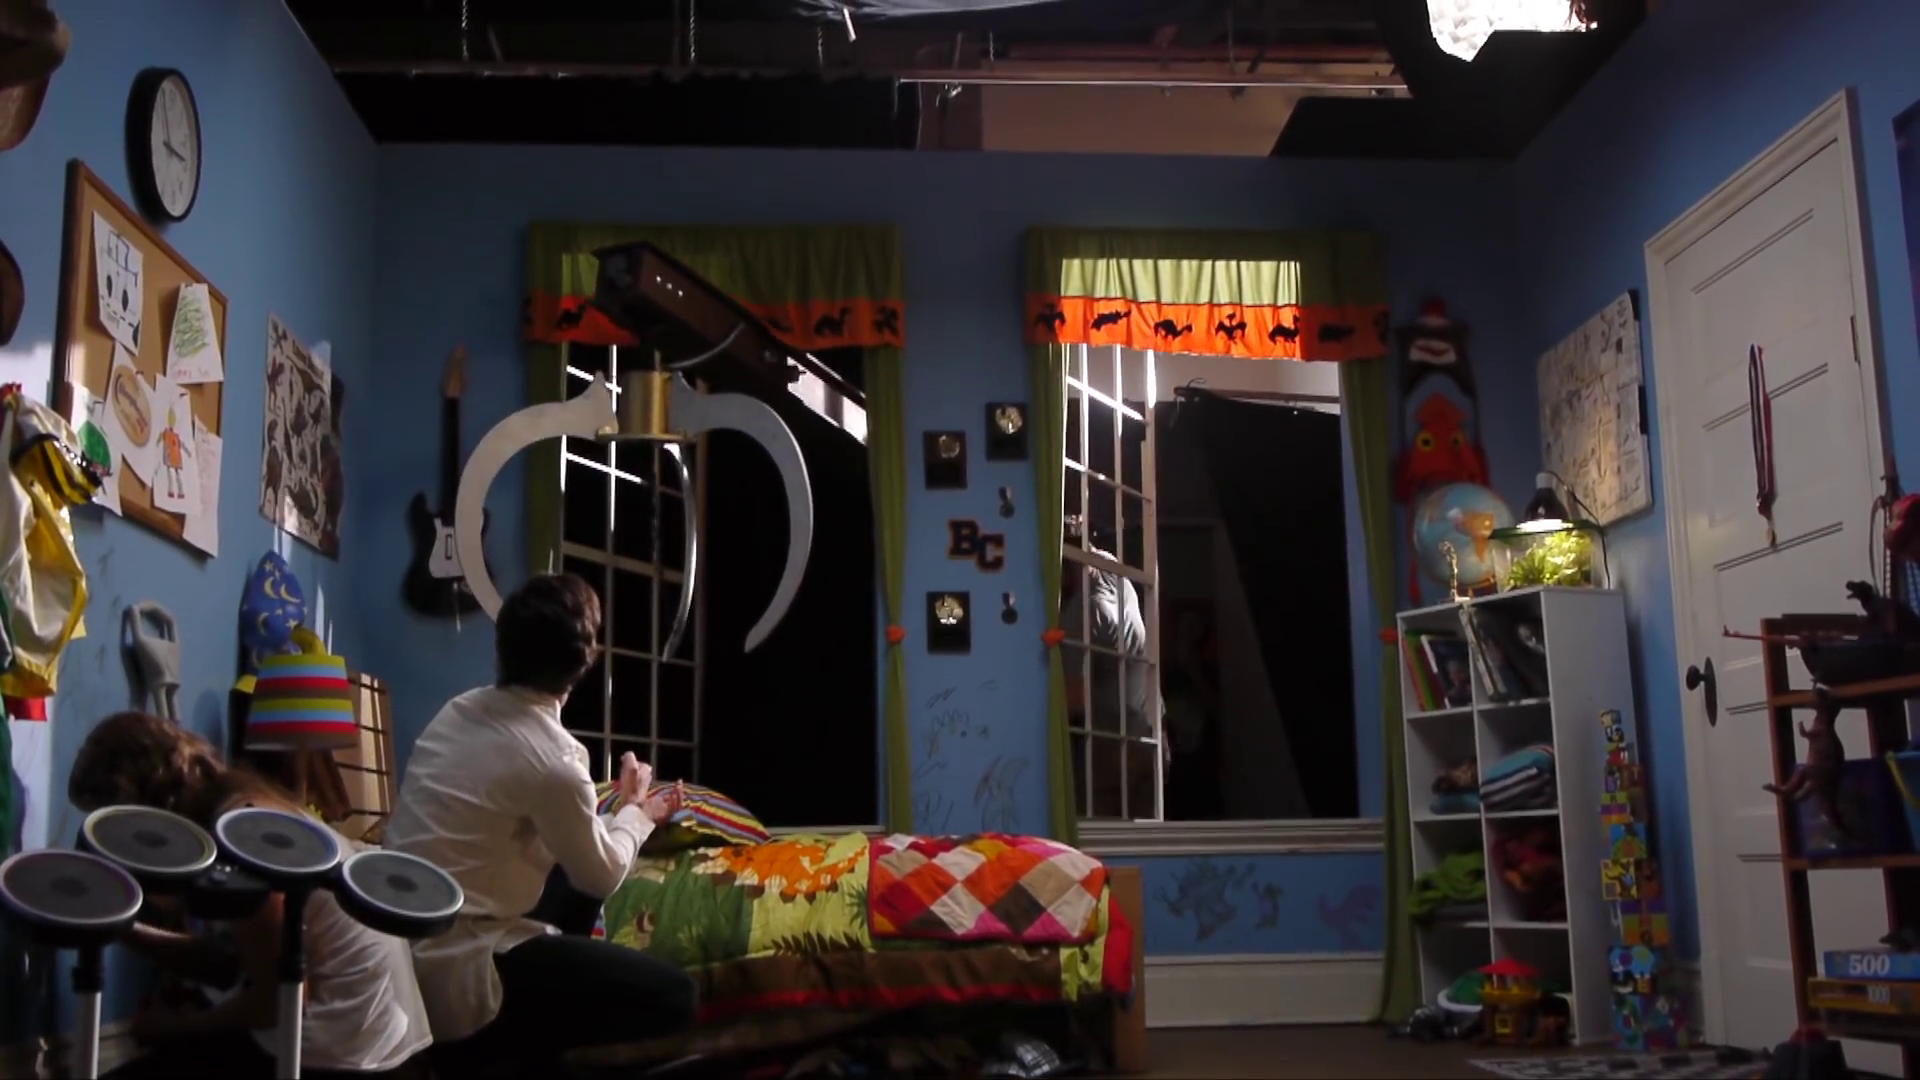
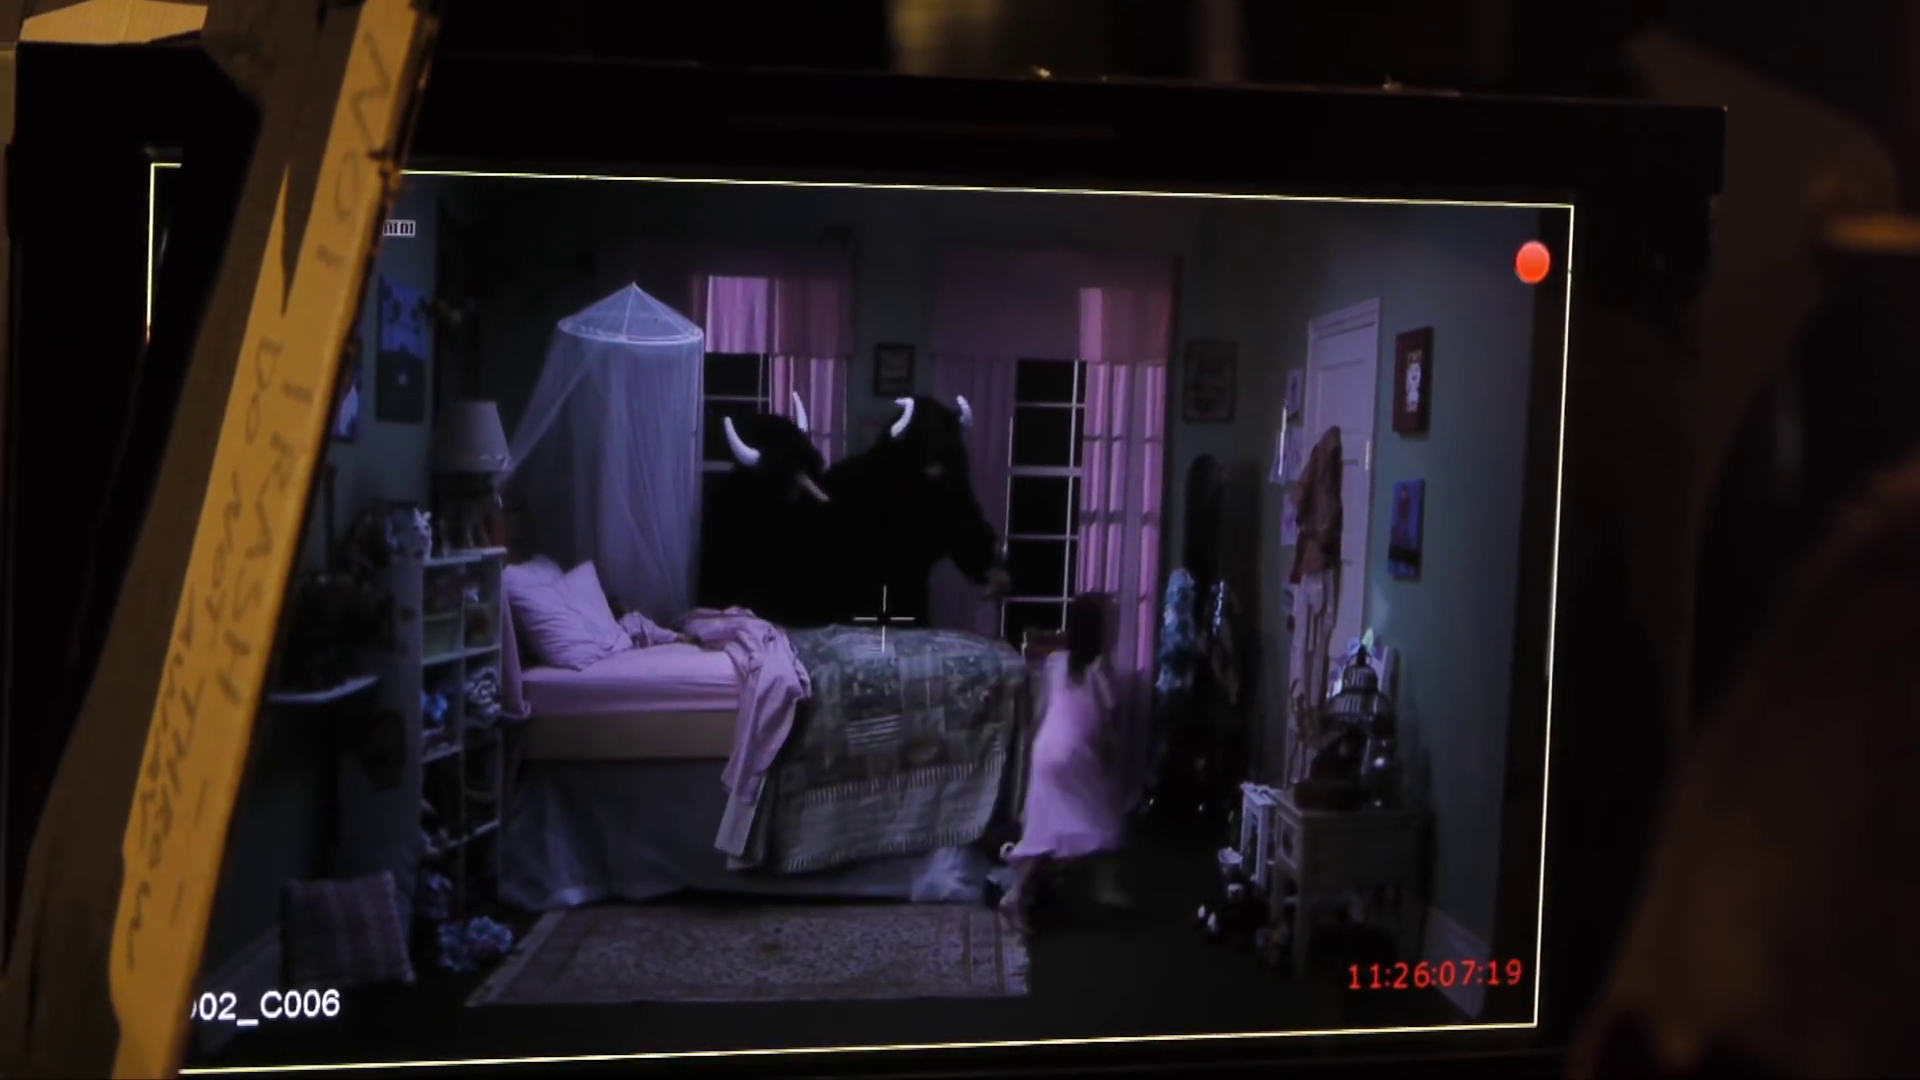
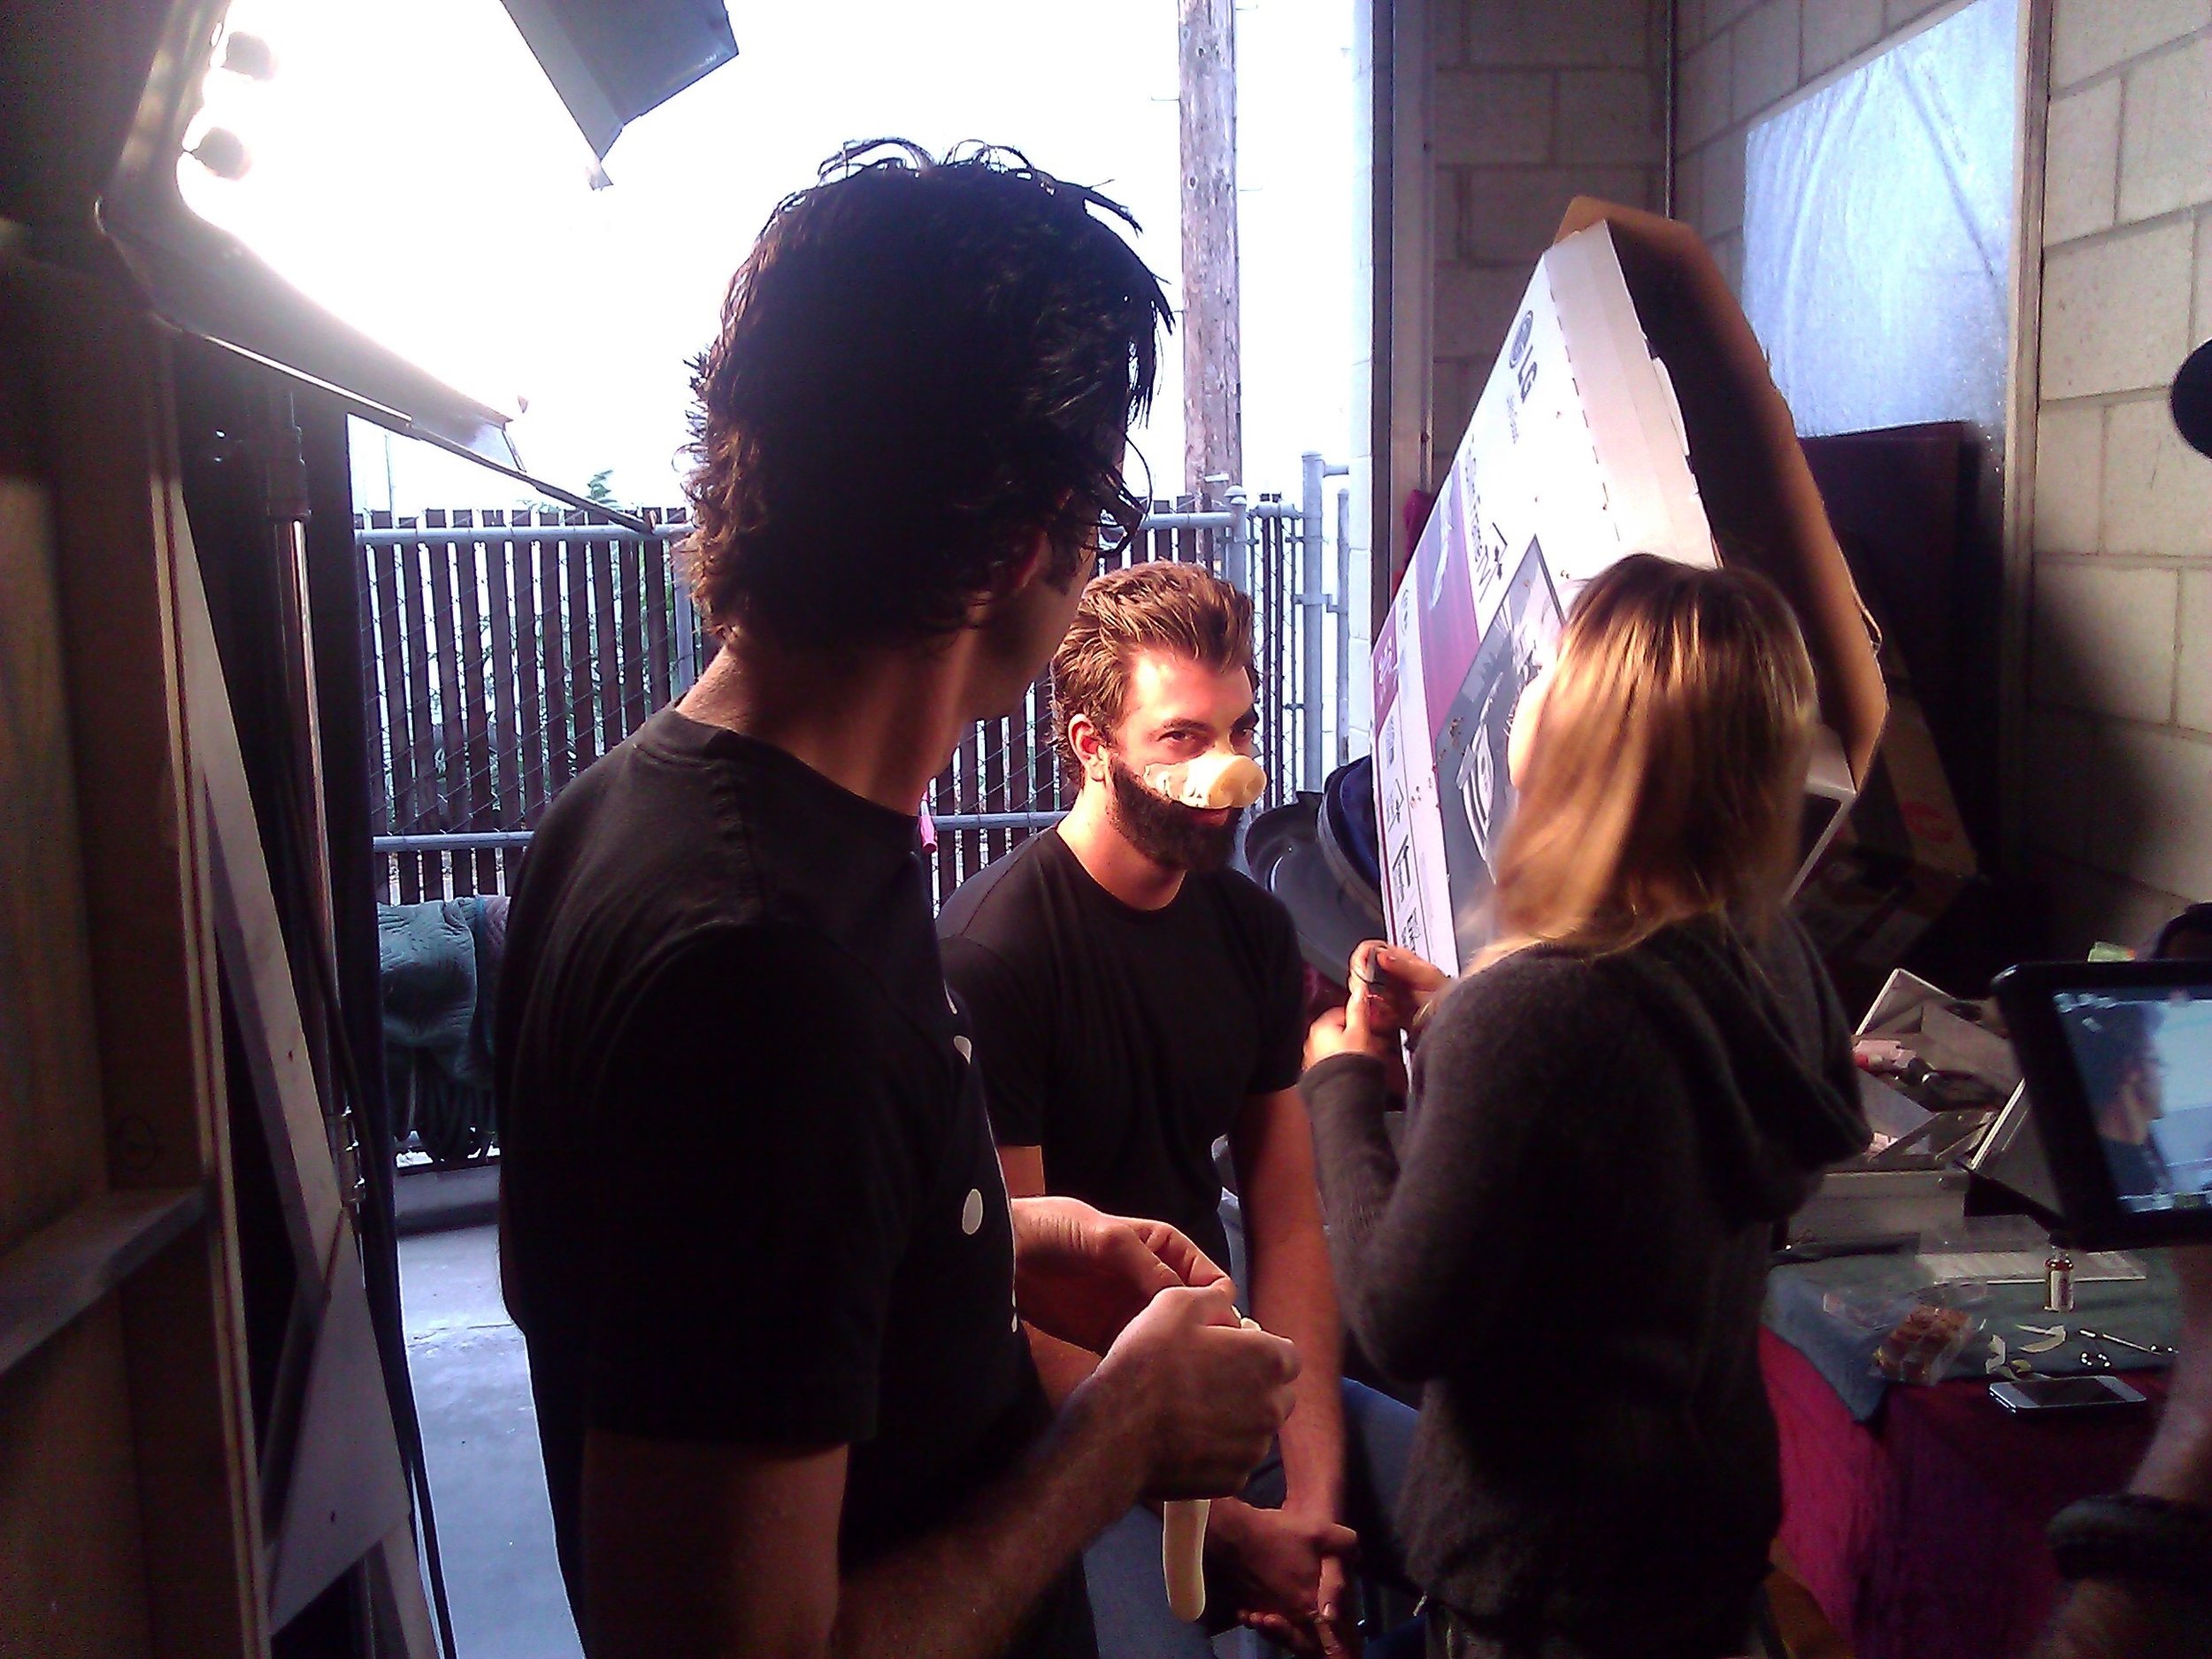
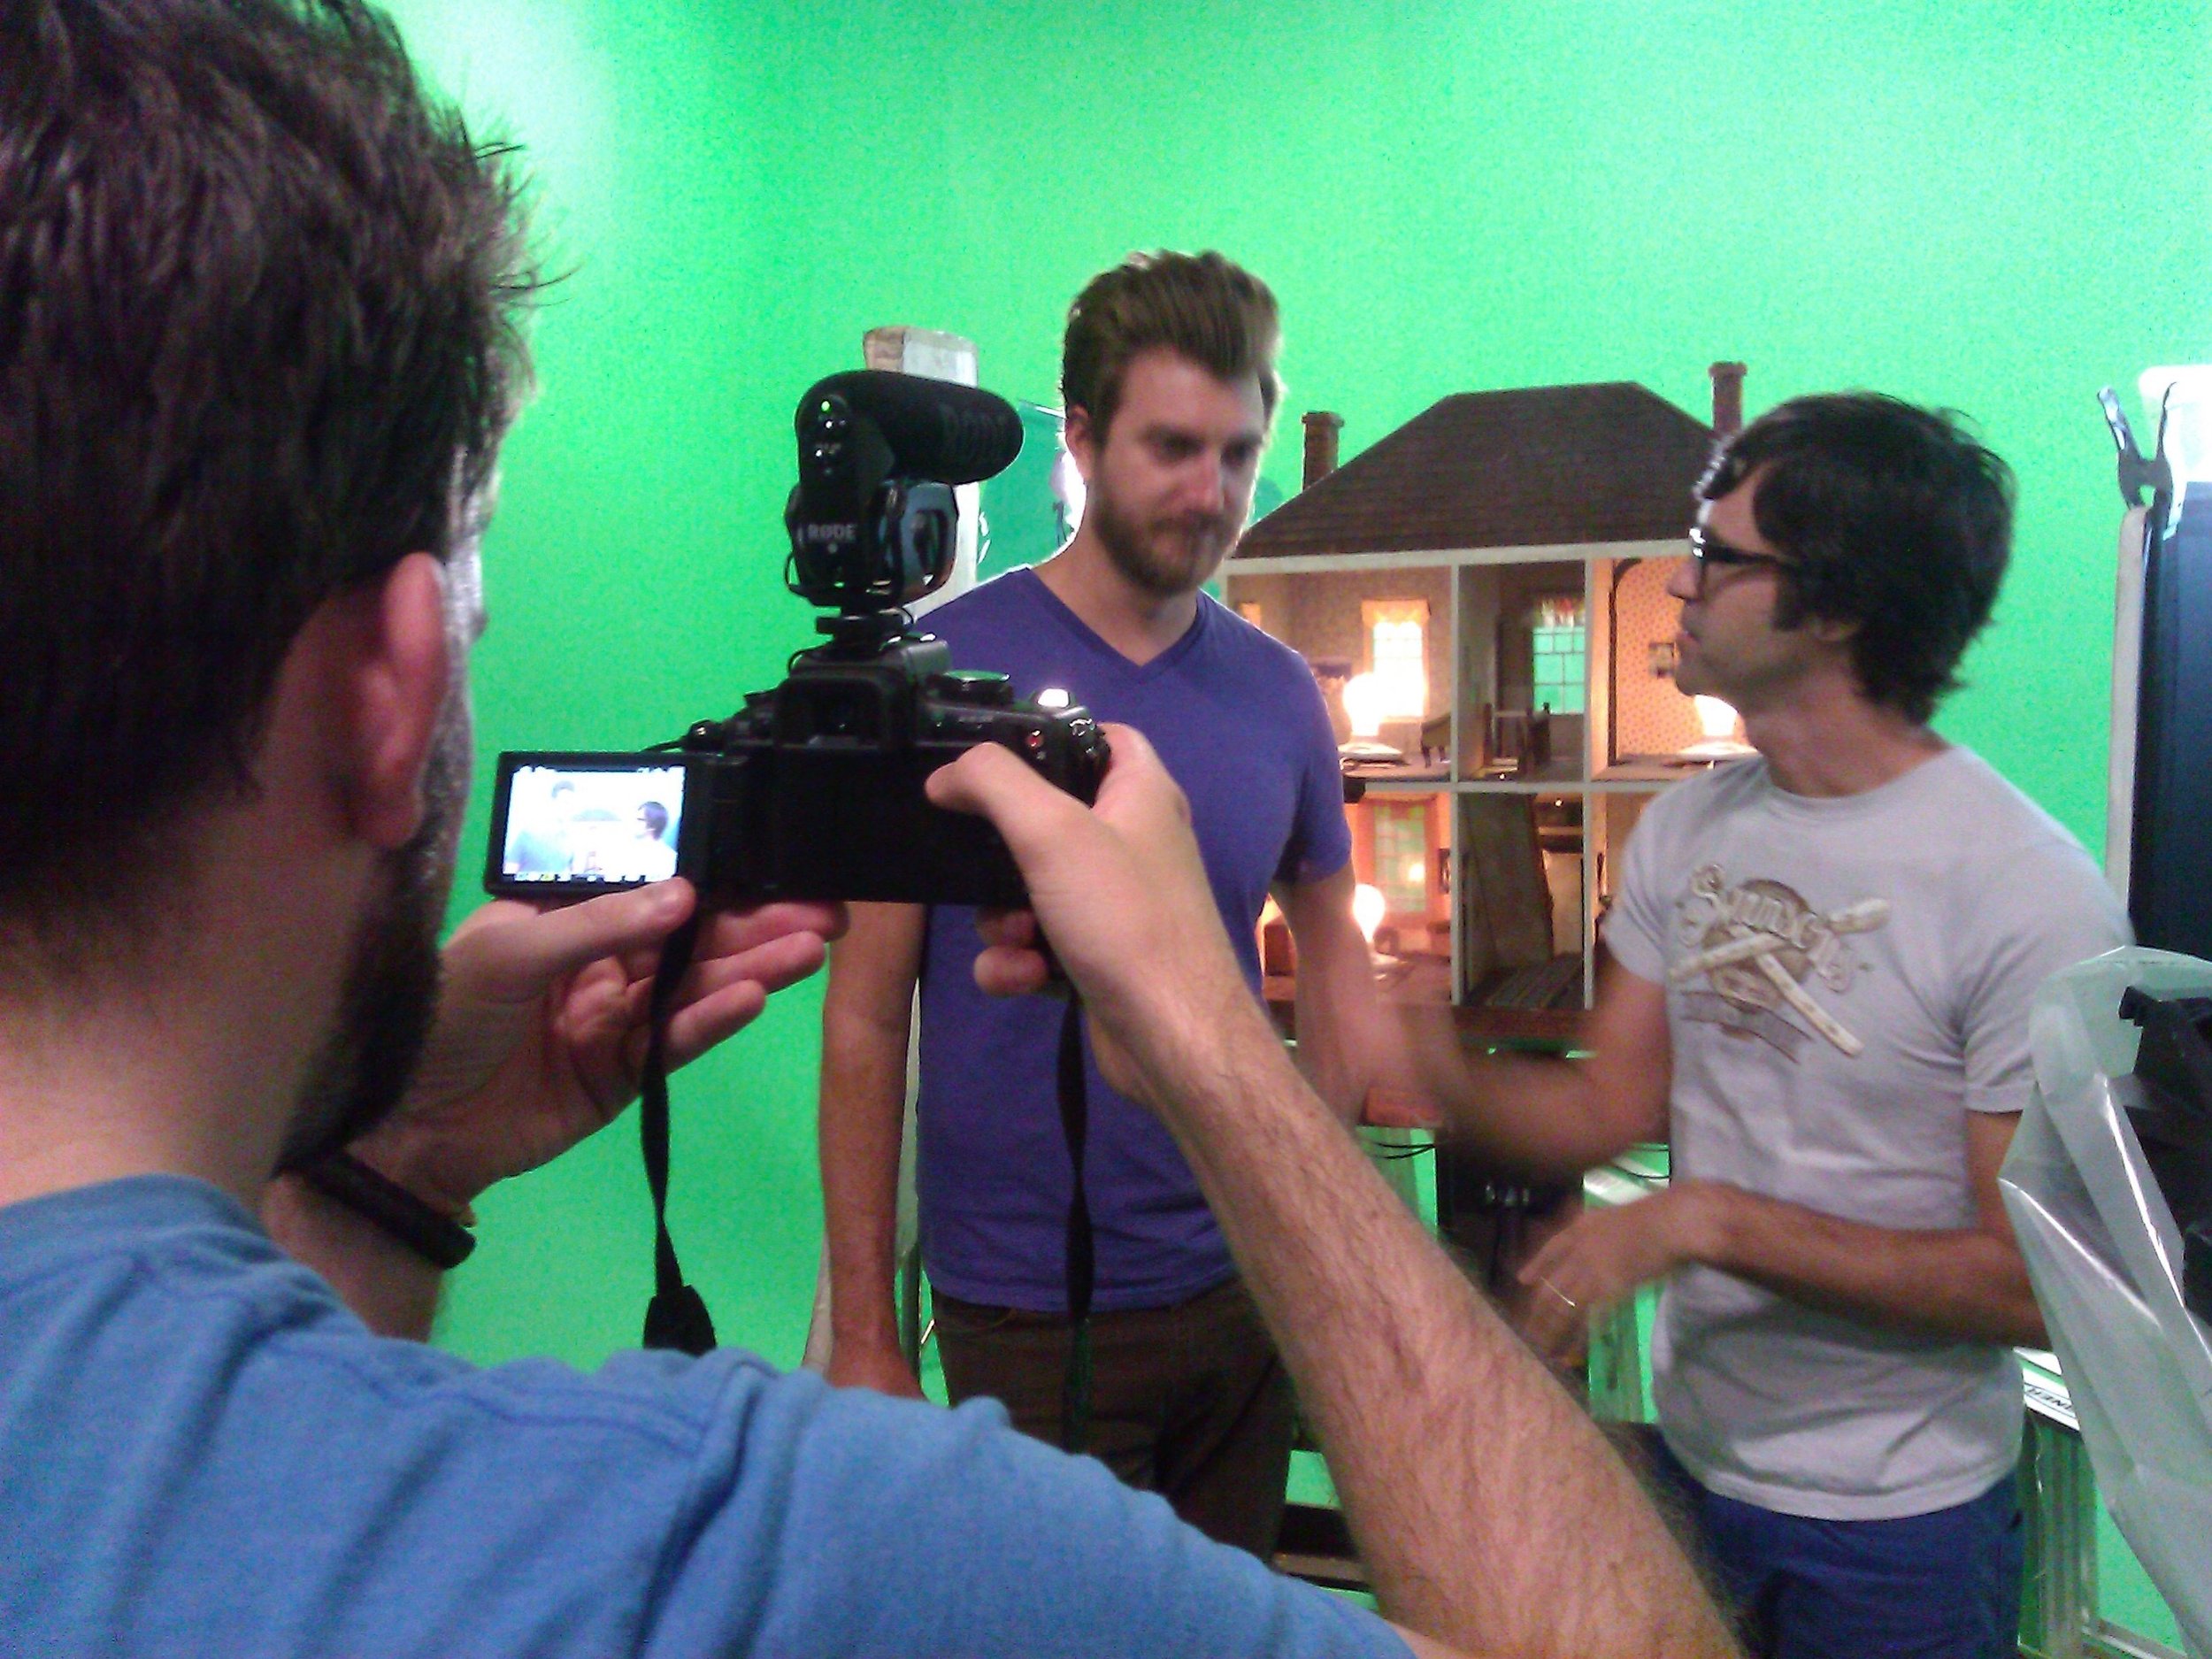
Some photos from the film shoot
POST PRODUCTION
After filming, it was time to break the entire sequence apart. There were three main focus areas:
The dollhouse - creating a CG version of the dollhouse with landscaping and a background to establish our “world”
The footage - cutting the footage together based on the music cues. All sequences happened together simultaneously in the world of the dollhouse, so I needed to edit them all together to match the overall action.
The Differences - there was the A and B spot, and I needed to show both simultaneously in order for viewers to compare. So I needed a system to be able to translate two 16:9 ratio frames at once so viewers could spot the intended differences between the A and B takes.
1 - THE DOLLHOUSE
The first thing I had to do was stretch the dollhouse into 16x9 aspect ratio (the original rooms were square) then prepare that image to project into 3D geometry. The black areas would become where the main footage would be camera projected.
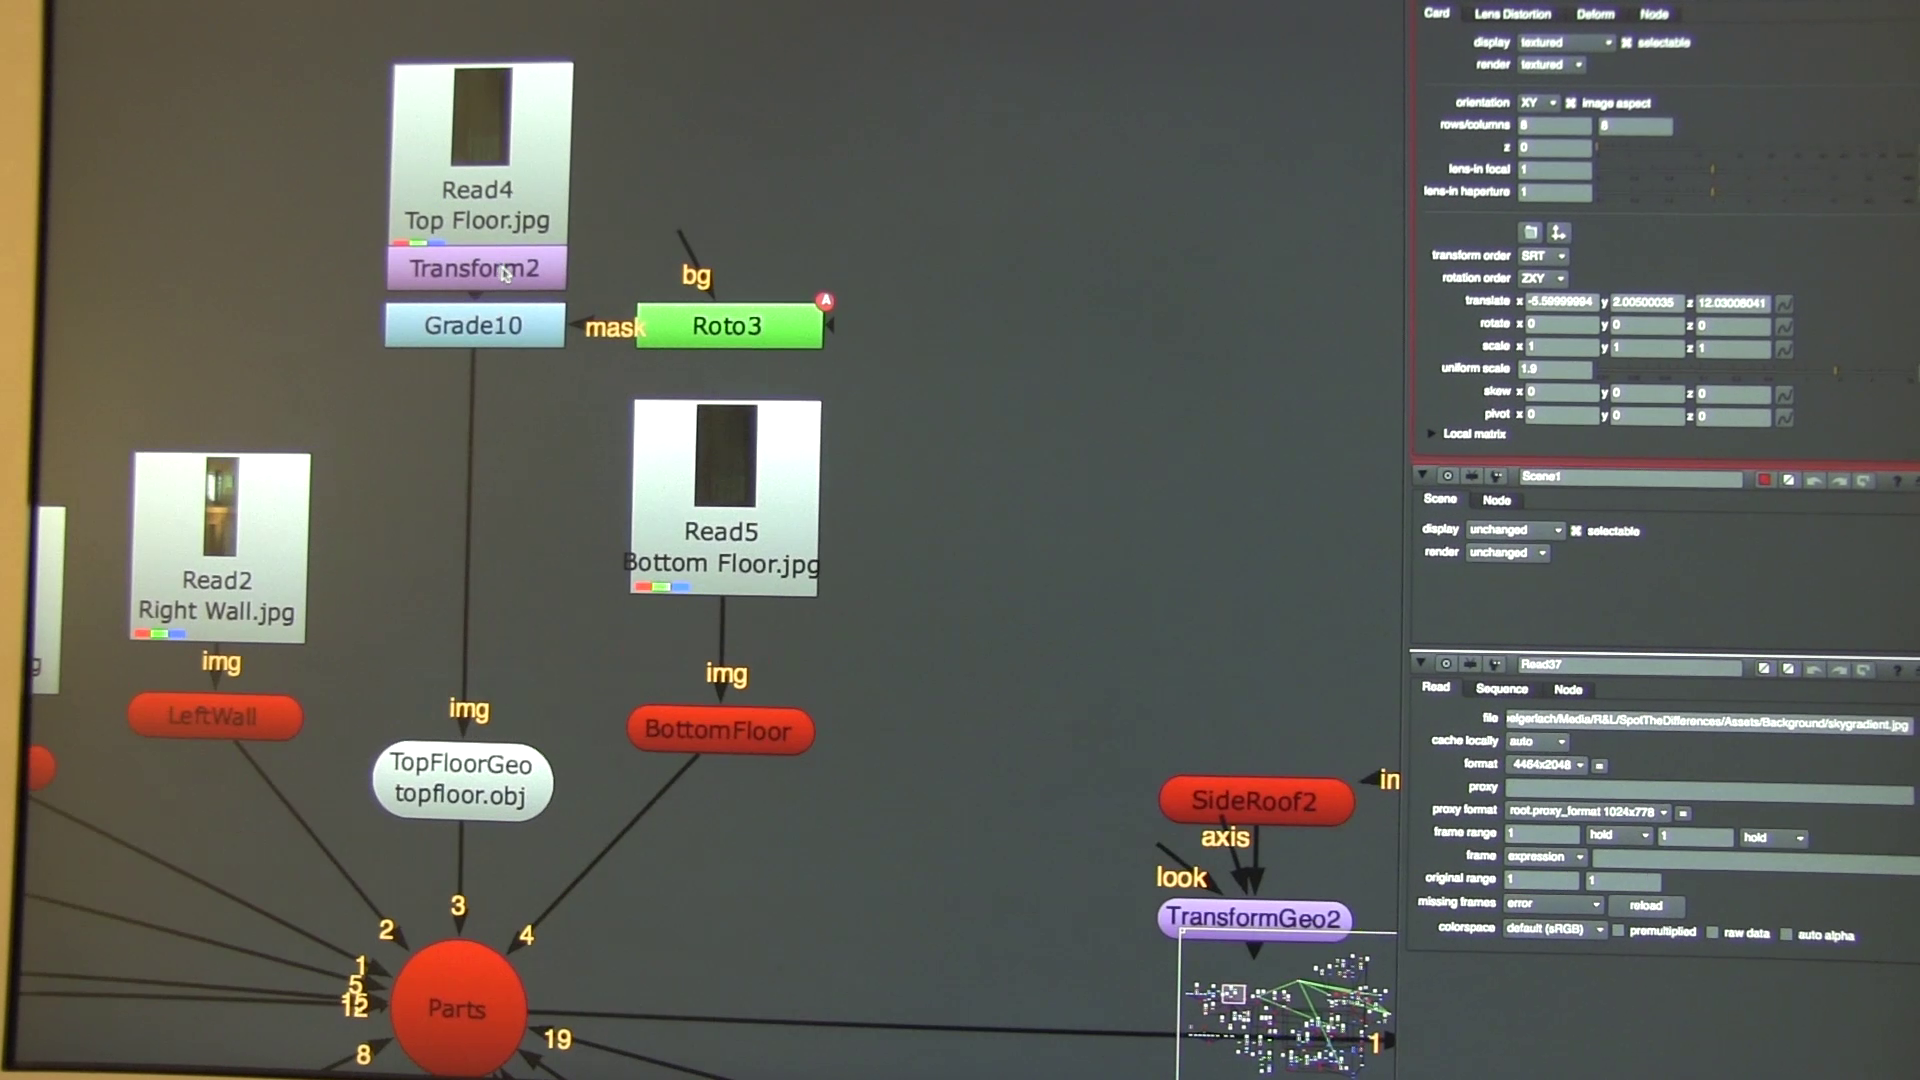
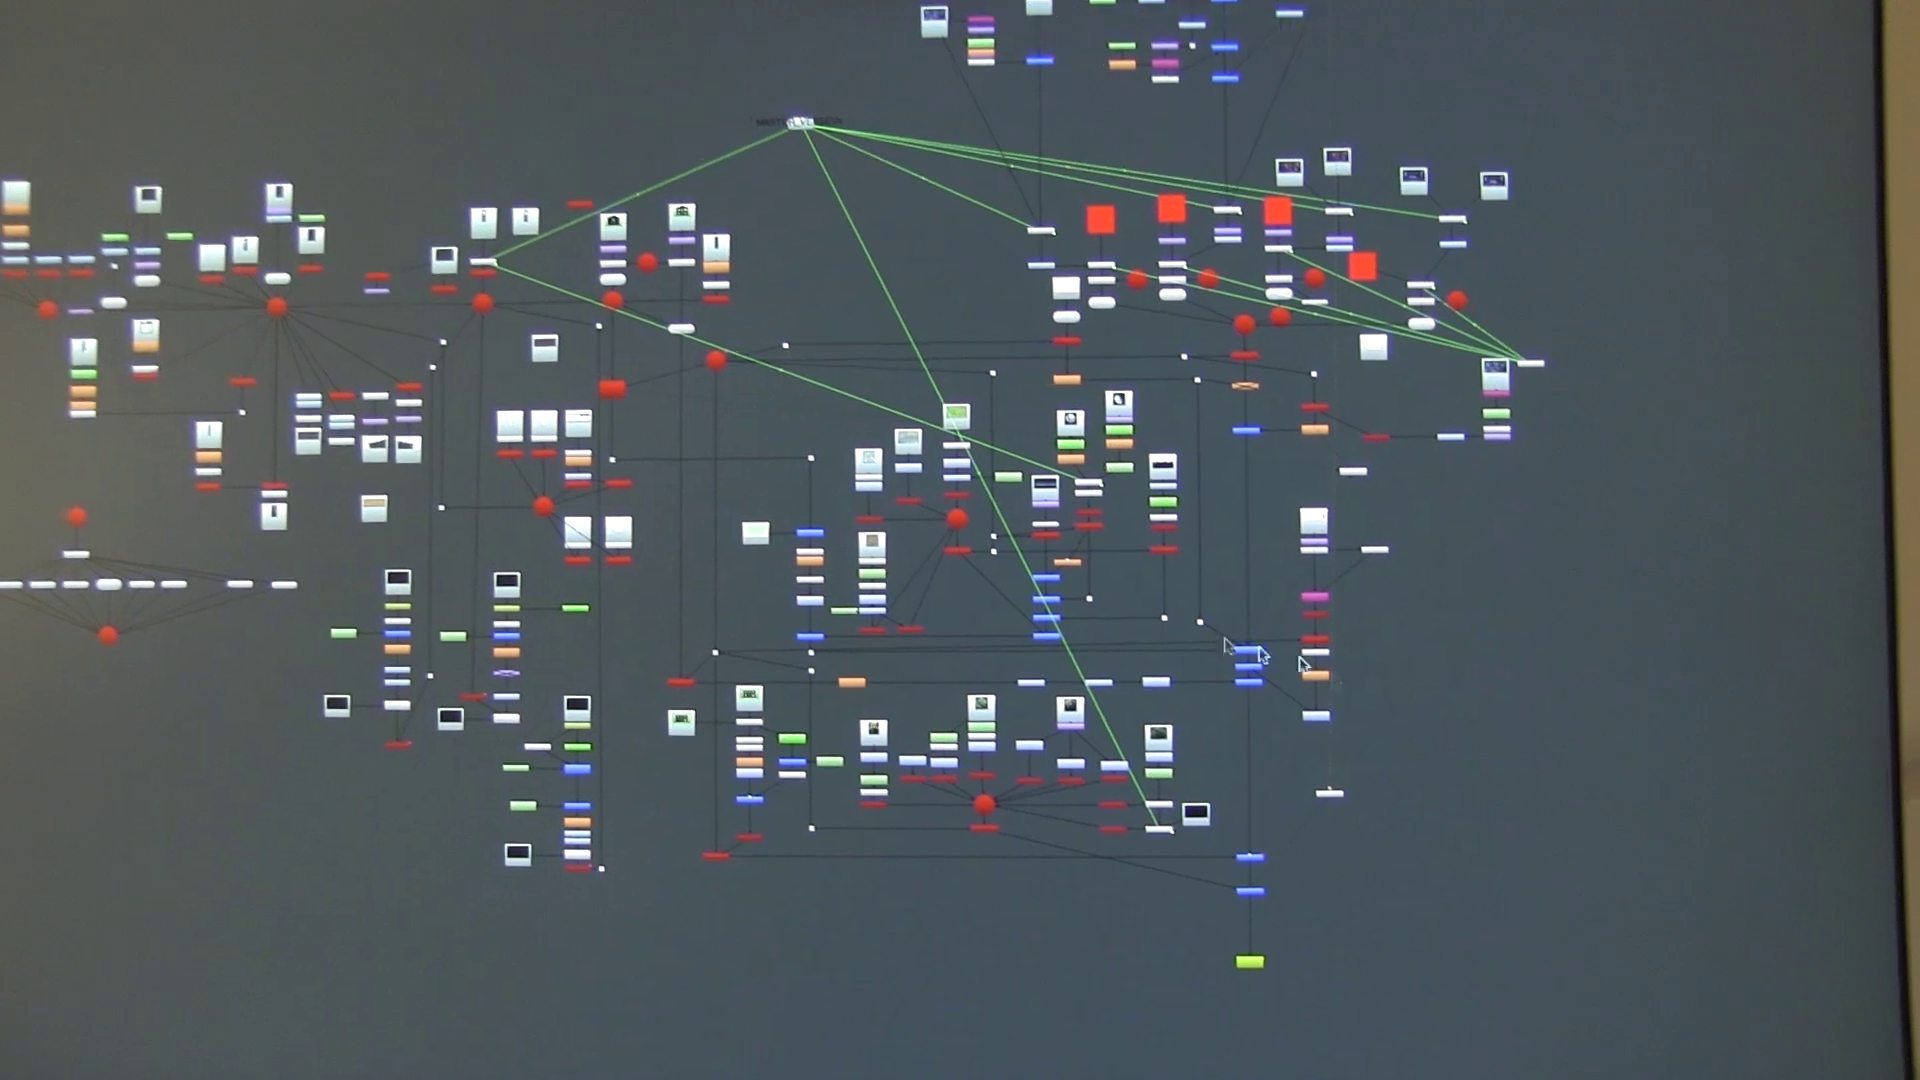
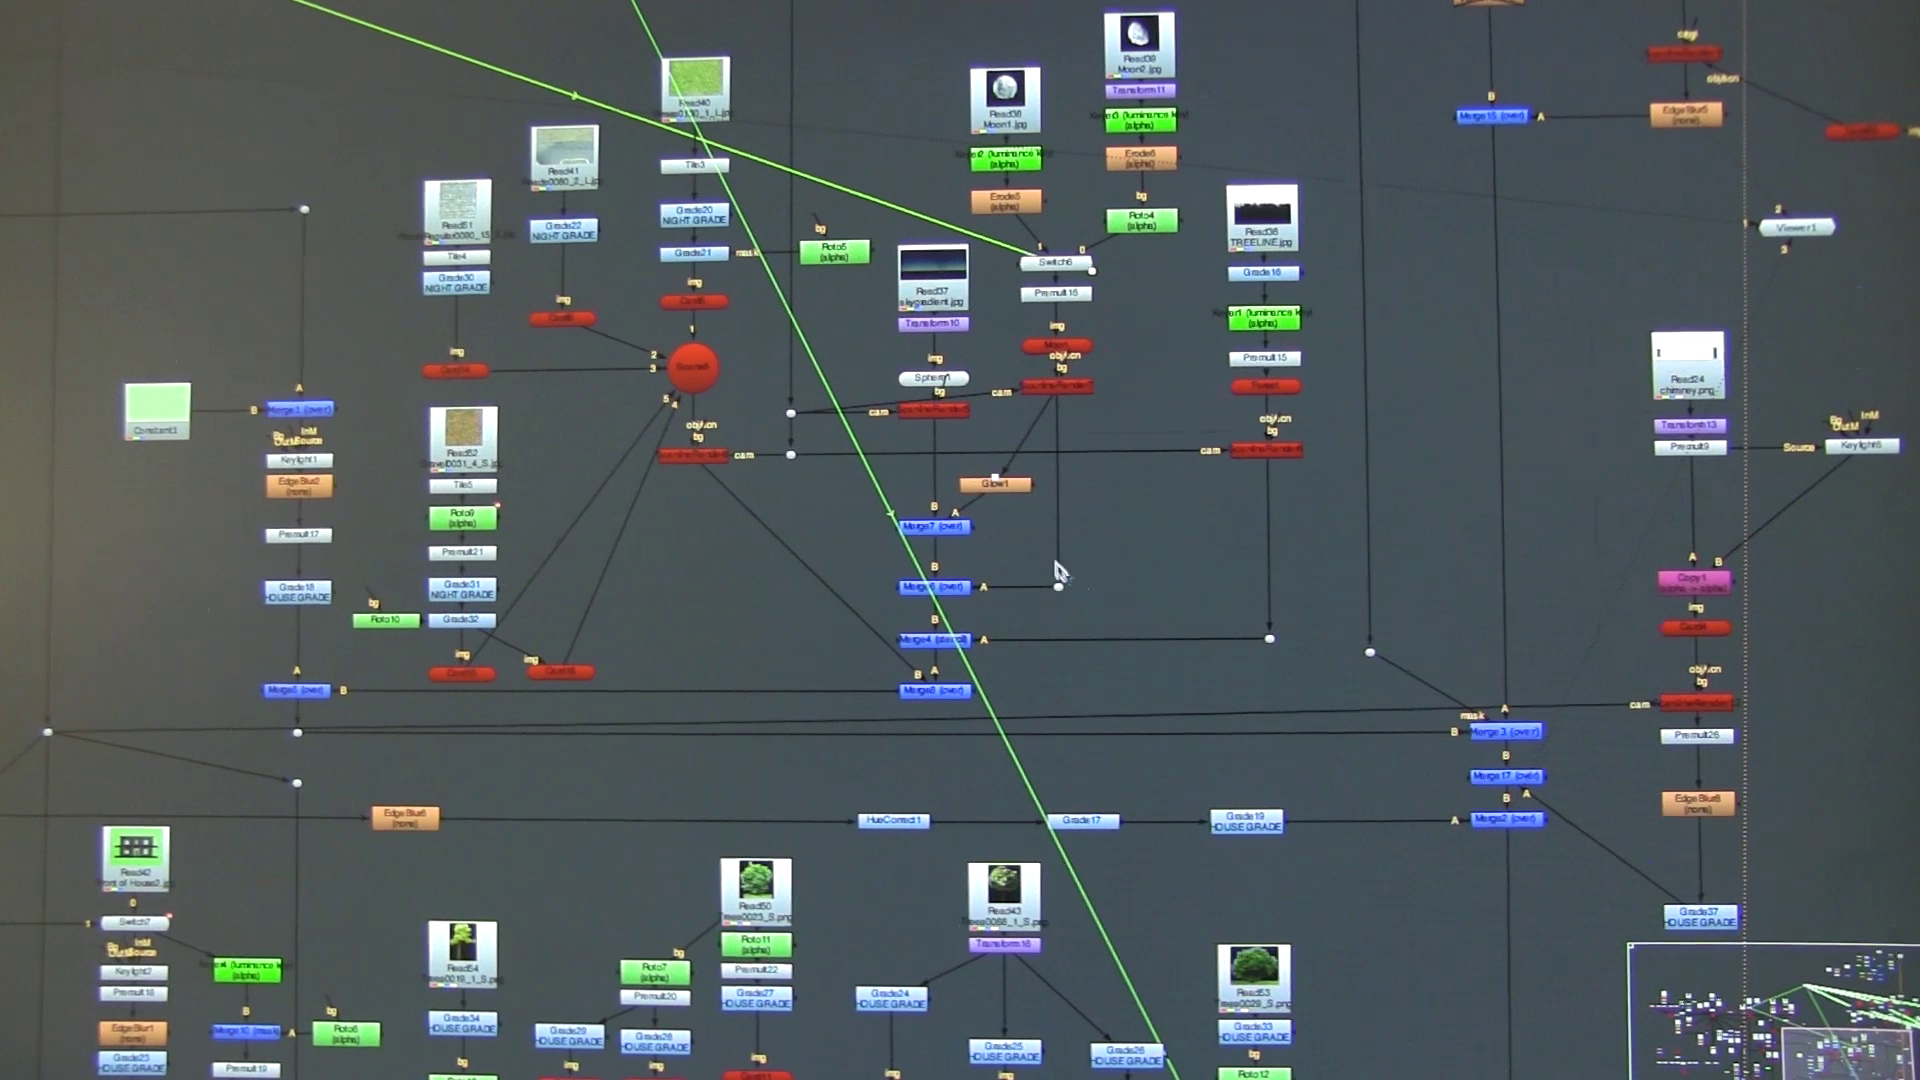
The node setup in Nuke for the 3D dollhouse was pretty complex. I chose Nuke to handle all the sequencing because I could use the Camera Projection node to project the 4K geometry in higher fidelity than I could get out of Blender at the time.
After preparing the house in Blender and Photoshop, I transferred the entire house to build inside of Nuke, a compositing software, that I could use to project the different scenes and move the ‘master camera’ in and out of the scene.
A frame in progress showing the dollhouse up against a backdrop I’d made by taking a picture of a treeline and crunching the values to black. The sky was a simple vector gradient with the moon as a 2D card. This frame of the video shows the front fascade off, revealing the interior rooms of the home. I had to get pretty clever with how I projected the footage to match the house.
The house with the front facade enabled.
2 - THE FOOTAGE
The dollhouse contained 4 rooms, the boy’s room, the girl’s room, the parents’ room, and the grandpa’s room. Each room had its own scene with its own timing that matched to the corresponding part of the song.
I had to take all the footage and map it correctly to the song for both the A and B sets, then export the entire ‘room’ into an image sequence, that got projected via the virtual cameras into the bedroom wall.
When a room was not in view, I paused the footage cut to another take to match the song, making sure that all the starting and ending timelines were in sync with one another, regardless of how much time was passing in the dollhouse.
3 - THE DIFFERENCES
The final stage was to create the ‘differences’ - by combining the A sequence and B sequence that came from the dollhouse.
I had two 16:9 frames rendered in 4K but needed to be able to contain them both into two side-by-side images. So I split the frame in half, added in a yellow bar, and then used a mask and a null object that animated back and forth to make sure the action was always in focus.
Although this meant that the entire frame wasn’t in view, it did allow me to showcase the two frames simultaneously, allowing people to “Spot the Differences.”
FINAL RESULT
The final video uploaded to Rhett and Link’s YouTube page.


